A super easy tutorial on how to build your own DIY Shopkins storage rack!
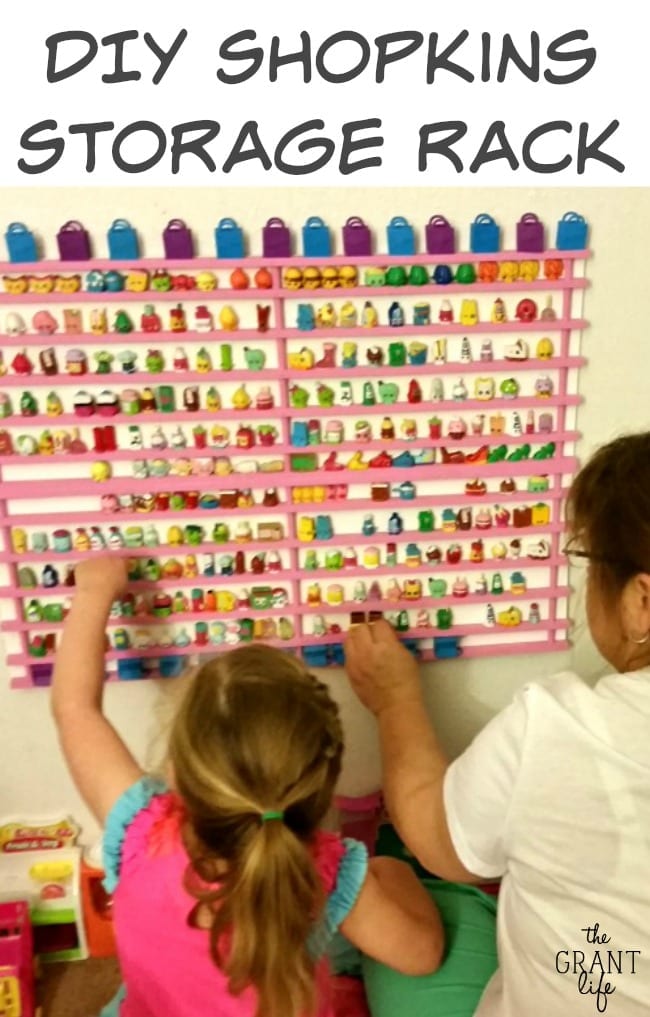
Yall, Ryley is beyond obsessed with Shopkins. Shopkins are these tiny grocery store figurines that have literally taken over our house. I’m not even kidding. She has over 300 of them. And all the accessories that go along with them. The grocery store, the bakery, the fruit and veg stand. And you can’t forget the giant shopping cart. Because duh, the tiny figurines need a giant shopping cart to play in.
And I’m not going to lie – I think they are fun to collect too. She gets excited when she finds one that she doesn’t have in her collection. And she can tell you all Shopkins in season 1 and 2. And which ones she has, doesn’t have and which ones are duplicates. Yup. We needed somewhere to store all these bad boys, so my mom and I made her a Shopkins storage rack for her birthday.
And ps.. Sorry for some of the pictures. We made this rack in the garage after the kids went to bed. Not the best for photographing. Carry on.
To make your own Shopkins storage rack you will need:
- 1 – wooden shoe rack (We bought ours at Walmart for less then $8)
- 1 – piece of plywood
- 2 – Sawtooth picture frame holders + 4 small nails
- 6 small nails
- 2 regular nails for hanging
- Paint of choice
- Wood glue
- Sandpaper
- Saw – electric or handheld
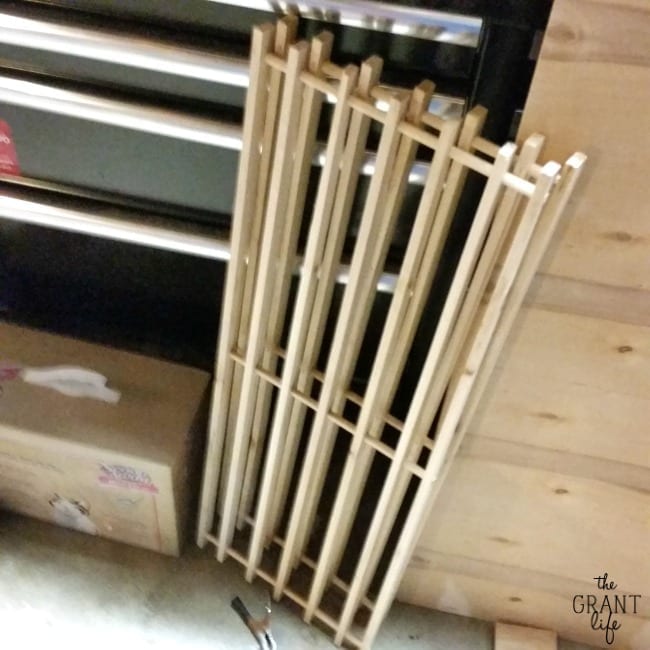
Step 1 – Take the two wood frames from the shoe rack and glue them together using the wood glue. Let them sit over night to dry and sand the dried glue spots off with the sandpaper. We used some clamps to hold the two pieces together overnight. (Note – you will only need the two main pieces of the shoe rack.)
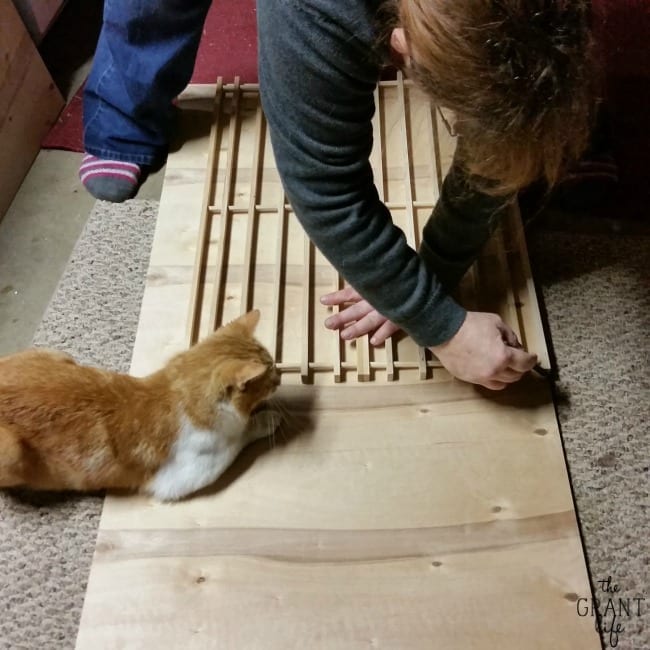
Step 2 – Trace out the now glued together wooden frames onto your piece of plywood. If you have a cute kitten assistant, then you get bonus points. Using a handheld or electric saw, cut out the plywood so that it fits behind the wooden frames.
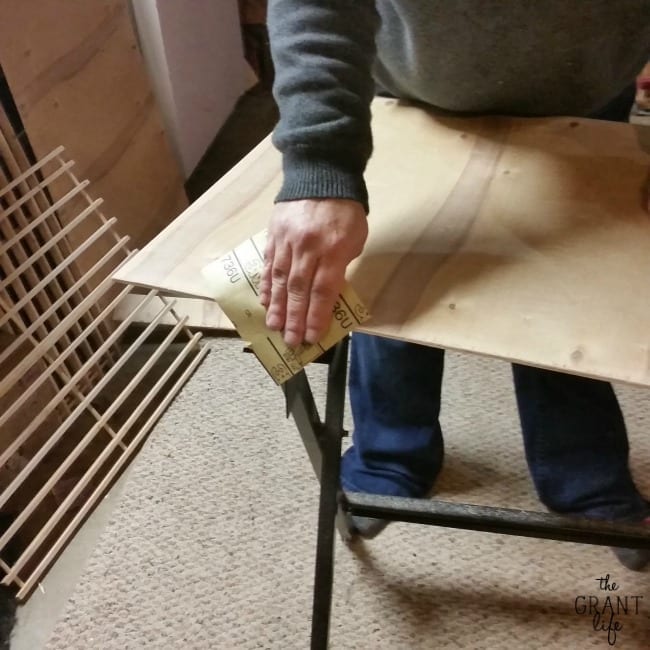
Step 3 – Sand the edges of your newly cut piece of plywood.
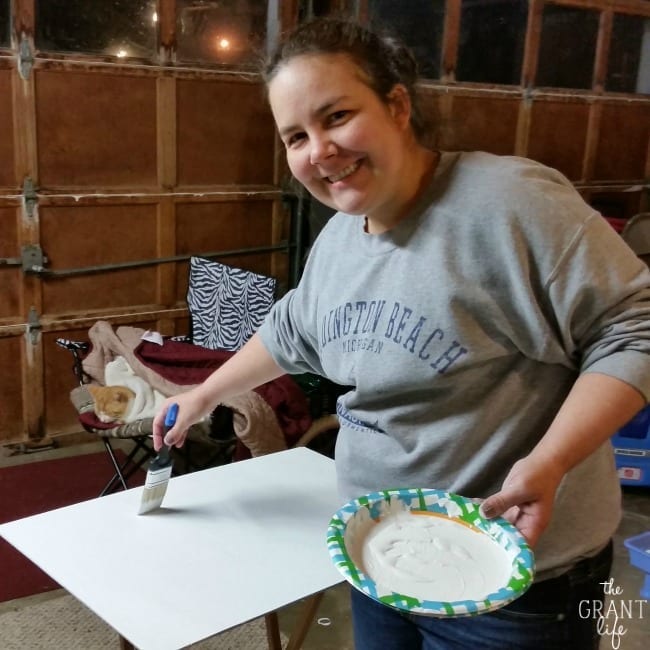
Step 4 – Paint the plywood your color of choice. We choose white for the plywood and pink for the wooden shoe rack part. Paint your shoe rack part as well and let them dry. We used 1/2 bottle of Apple Barrel white paint and two 2-ounce bottles of pink paint for the wooden rack portion.
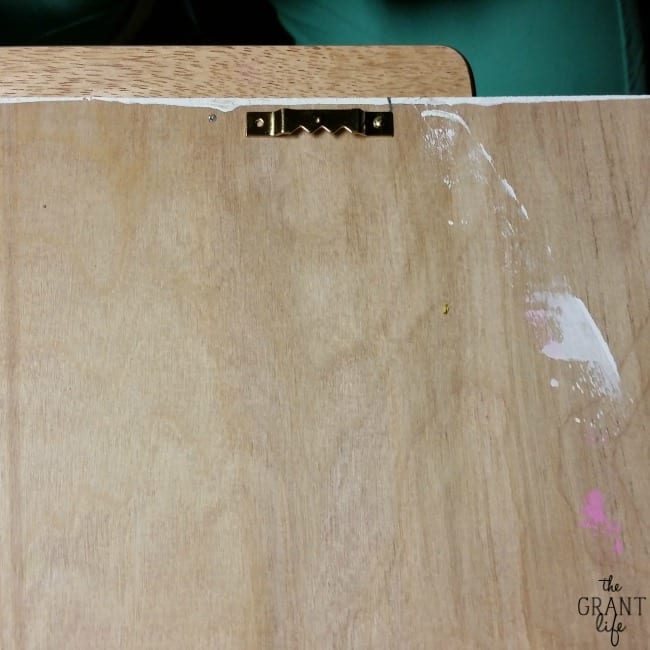
Step 5 – Attach our Sawtooth picture hooks to the back of your plywood using 4 small nails. We had the nails on hand, so I’m not sure what size they were.
Step 6 – Position the painted shoe rack part onto the dry plywood. Hammer in the 6 nails (two on each edge and two in the middle) to the back of the plywood, making sure they attach to the shoe rack on the front.
Step 7 – Measure the width of the Sawtooth hangers against the wall, and then hammer in two nails in the wall and attach.
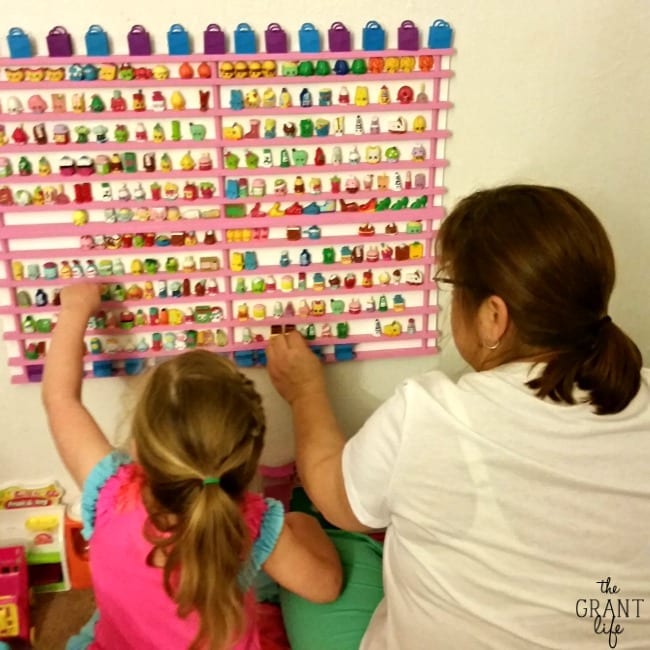
Step 8 – Add your collection of Shopkins to the storage rack.
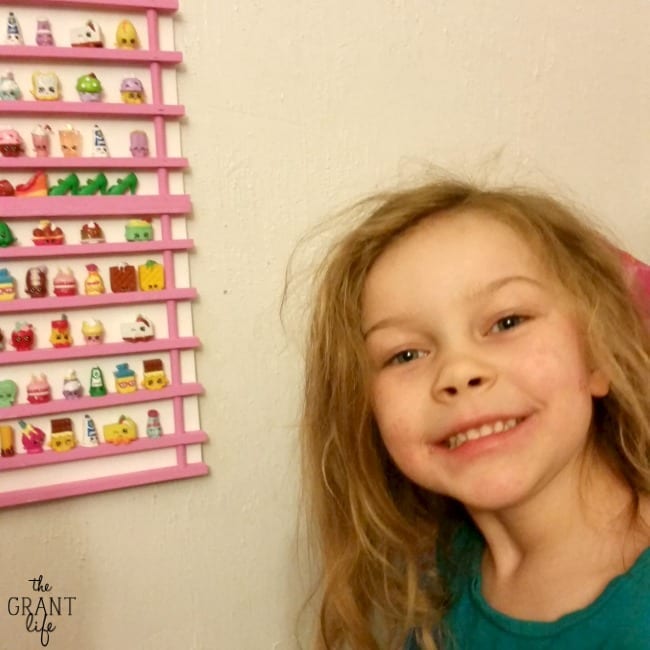
Optional step 9 – Show your now 5 year old daughter her new Shopkins rack and watch her squeal with joy. Totally optional, but totally fun.
Our Shopkins storage rack has been so solid too! I thought with two wild kids that it would last about a week. But both of them have fun putting the Shopkins up there and rearranging them and it has held up. We all love it – the kids because they have a way to display their Shopkins, and me because they are no longer all over the floor. PLUS it entertains both kids for hours! I’m calling this DIY Shopkins storage rack a win!
Like this post? Be sure to check out:
This post contains affiliate links.
- White Chocolate Mousse - February 16, 2024
- Slow Cooker Ground Beef Tacos - October 30, 2023
- Pumpkin Cream Iced Chai Latte - October 23, 2023





Namaw says
We had soooo much fun making the shelf for Ryley-Roo. She totally loved it! Next we will need to make a Trashies shelf or a Matchbox shelf for Avery.
Kelley says
Yes! He needs his own little play area 🙂
Jen says
Thank you for the tutorial! Love your shelf. I just started buying these for my 5 year old, but I think I’m more obsessed than she is! LOL
Kelley says
Haha! Not going to lie – I love them too! Its fun to collect them!
Heather says
Love this shelf and went to go get shoe racks to make it today and cannot find wooden shoe racks! Walmart had 1 bamboo rack for $20 but it didn’t look like it would work. Do you remember what rack you got? I want to try and find it online so I can order it.
Kelley says
I bought this one – http://amzn.to/1G6afo9 – at Walmart. It was the cheapest one there. Hope that helps!
Candace says
How many do you think this held?
Kelley says
Probably a good 150-200 shopkins. And if you pushed them closer together, maybe more!
Pat Hassel says
Hi Kelley
My granddaughter and I have just gotten addicted to Shopkins. I just found these racks at a thrift store, had to carry them home on a plane , had to have them! I’m thinking of using foam board for the back, attached with hot glue. Easier to work with but not as stable. Can you further explain how you attached the rack to the plywood and how many ply was the wood. Thanks for the great idea.
Kelley says
We laid the racks down on and hammered in small nails to the back. It was a little tricky, but not too bad. And the plywood was fairly thin. I’m not sure what ply we used though. Hope that helps! And hope yall enjoy your Shopkins rack!
Sheridan says
You’re a life saver. We’re planning on redoing my daughter’s bedroom after Christmas break since a lot of her presents are that: Shopkins bedset, wall stickers, plushies, etc, I’m sure you know the drill! and this rack would be a lifesaver, because those little cuties are taking over my life too! They’re in the bathroom, kitchen, living room, etc. I swear the only place they’re not is my teen son’s room, well, that’s a lie, as all my daughter’s Christmas presents are hiding there! LOL
Can’t wait to start the project!
Where did you get the plywood, and do you remember how much you spent on it?
Thanks, Sheridan
Kelley says
I believe we got the plywood from Home Depot. I don’t remember the cost – it wasn’t very expensive though. $5 to $8 maybe. Hope your daughter enjoys her new Shopkins room!
Heather says
We made two, my daughter loves them!
Kelley says
Thats awesome!! So glad they worked out!