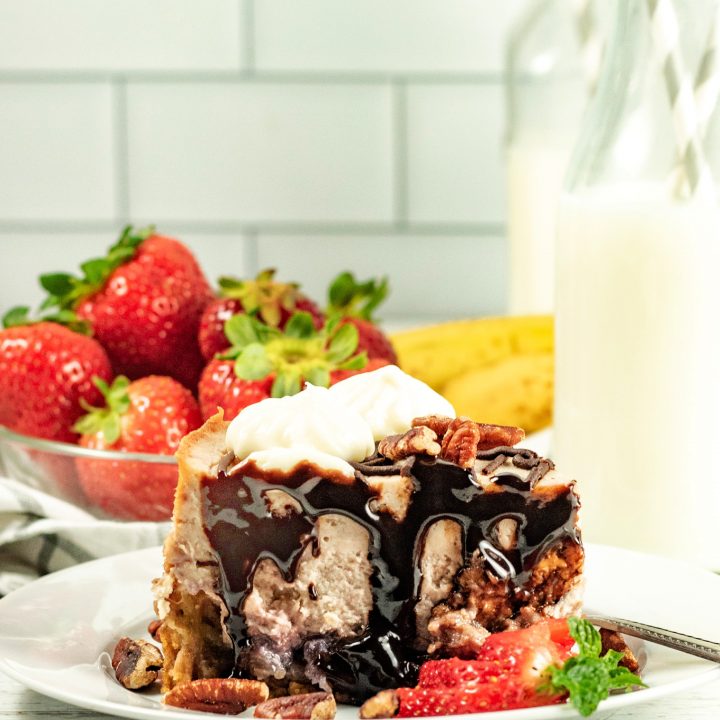
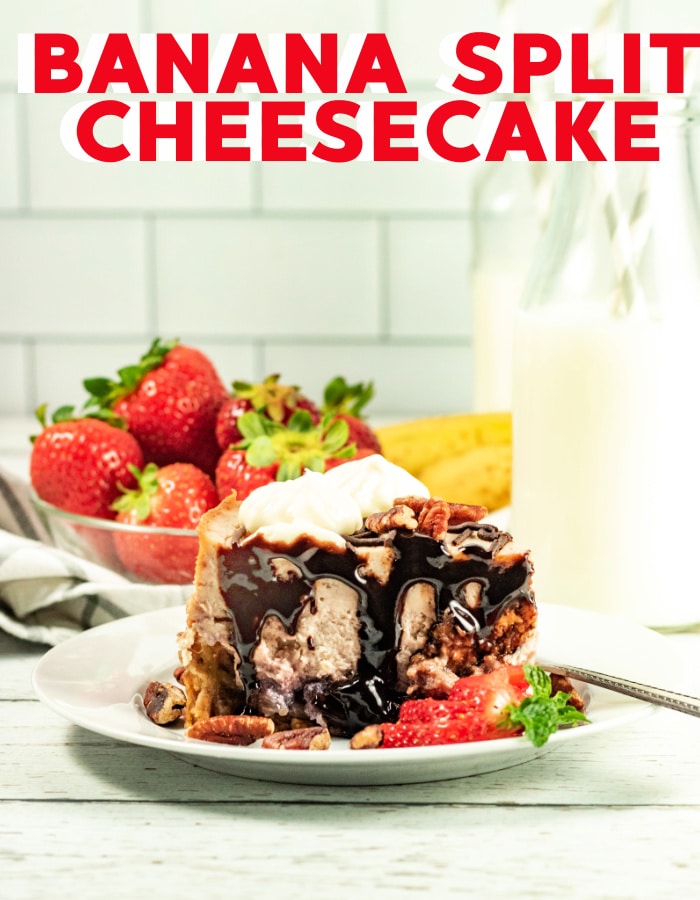
Easily make the perfect dessert with this recipe for Instant Pot Banana Split Cheesecake. It’s sweet, decadent, and delicious, leaving you with the perfect treat to eat. It’s a classic banana split taken up a notch! This recipe is made in the Instant Pot, but can also be made in the oven. Let me show you how to make this Instant Pot Banana Split Cheesecake today!
When I was younger, I used to love a good banana split, but I also loved cheesecake. So, I thought why not combine the two!? The combination is exquisite! You’ll never go back to a normal banana split ever again.
What Is Banana Split Cheesecake?
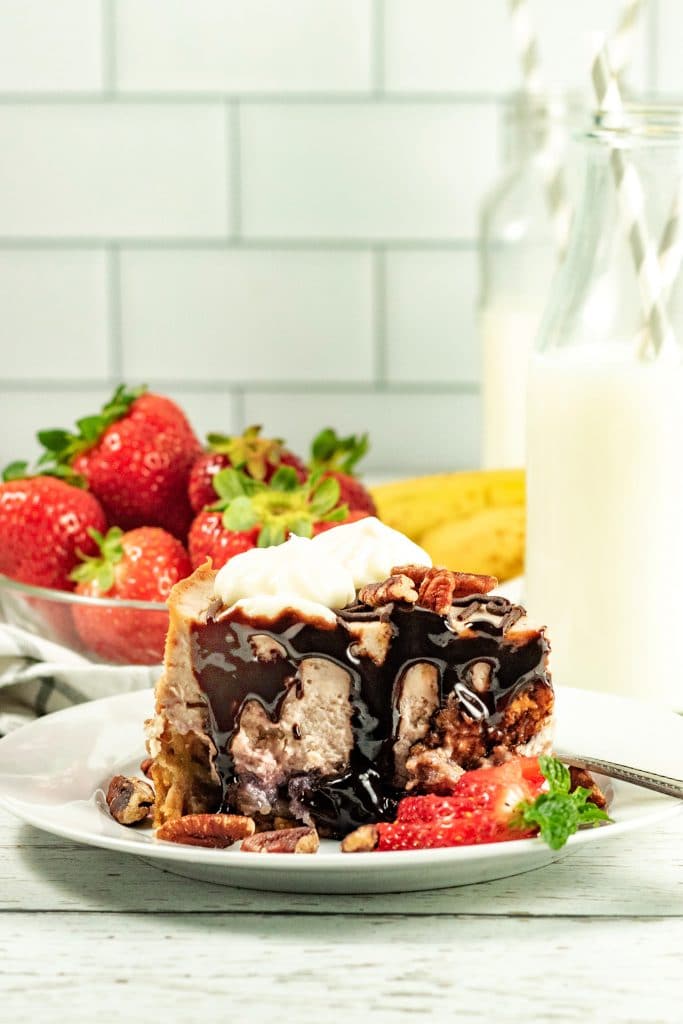
Banana Split Cheesecake is a decadent and delicious cheesecake with a banana taste to it. It will remind you of your favorite bowl of banana split ice cream, but even better. The cheesecake is creamy with the perfect homemade crust. This recipe doesn’t actually have ice cream, but you could always add a couple scoops to your cake if you choose.
Banana Split Cheesecake Ingredients
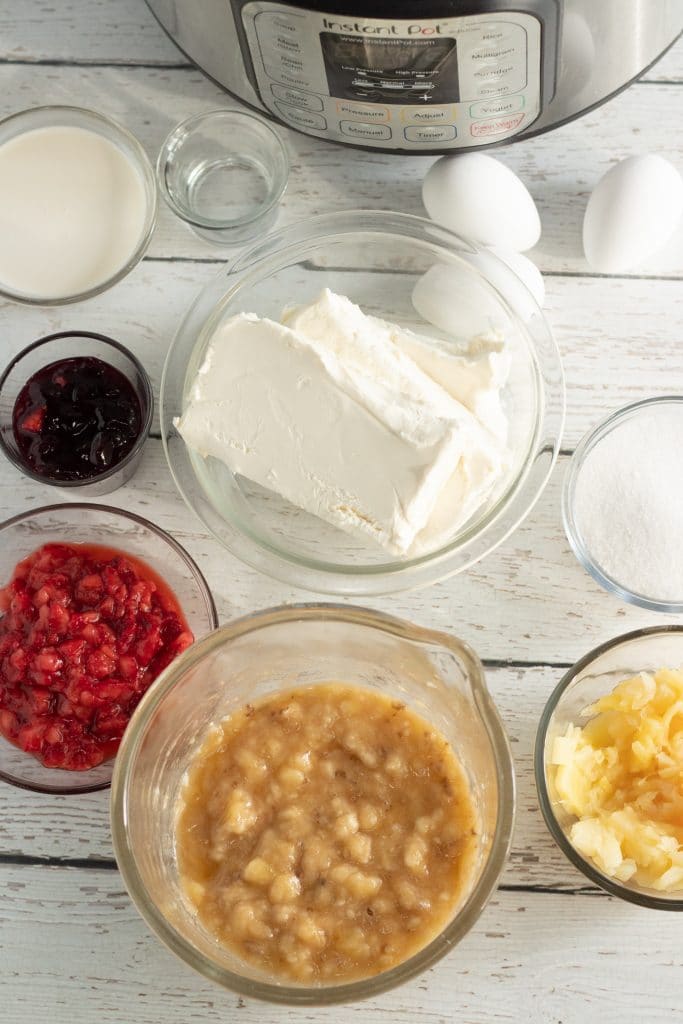
If you want to make the Banana Split Cheesecake, you’ll need the following ingredients:
- Vanilla Wafers. Crush the wafers into fine pieces to create a crust-like texture.
- Brown Sugar. Combine the brown sugar with vanilla wafers and butter to create a flavorful crust.
- Butter. Melt your butter before you use it.
- Cream Cheese. Leave the cream cheese out to reach room temperature before preparing the cheesecake.
- Granulated Sugar. Give your cheesecake a sweeter taste with granulated sugar.
- Banana Extract. You can find this in the baking aisle or online.
- Bananas. Be sure to use ripe ones for this recipe!
- Strawberries. Fresh strawberries work best here.
- Strawberry jam. Use your favorite strawberry jam.
- Nuts. Pecans or walnuts are my favorite but you can use whatever you prefer.
How to Make Banana Split Cheesecake in the Instant Pot
This recipe is super easy to make in your Instant Pot! If you have an Instant Pot, follow the steps below!
Step 1: Prepare the Banana Split Cheesecake Crust
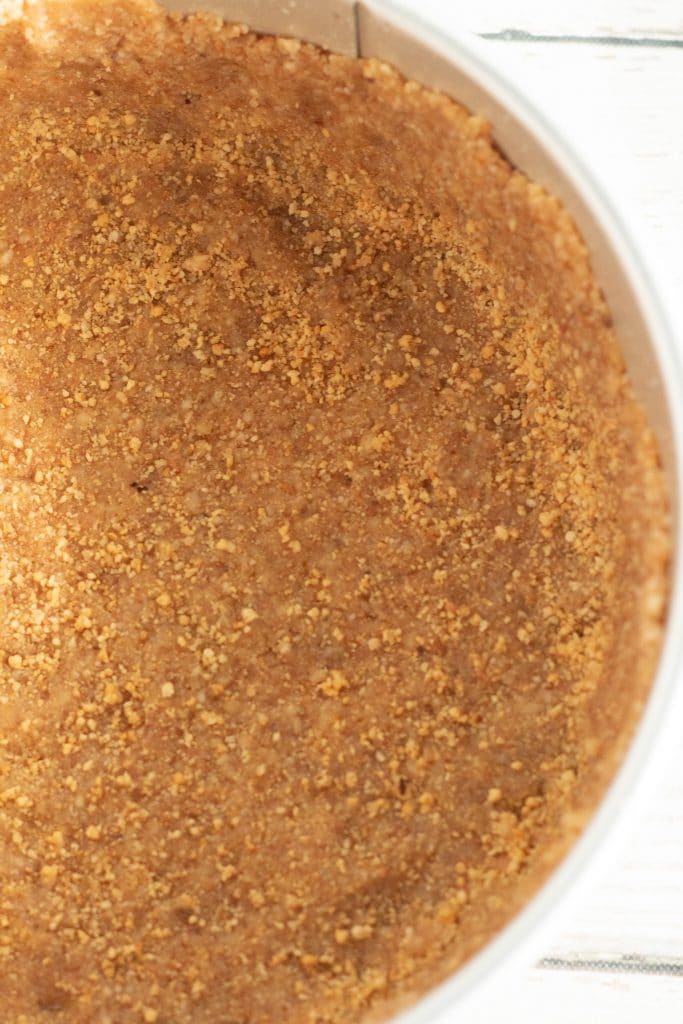
Prepare the crust by combining the vanilla wafers with chopped nuts and brown sugar, along with the butter until it has the consistency of wet sand. Then, press the mixture into the pan on both the bottoms and the sides. Place it in the freezer and let it chill while you’re preparing the filling.
Step 2: Prepare the Cheesecake Filling
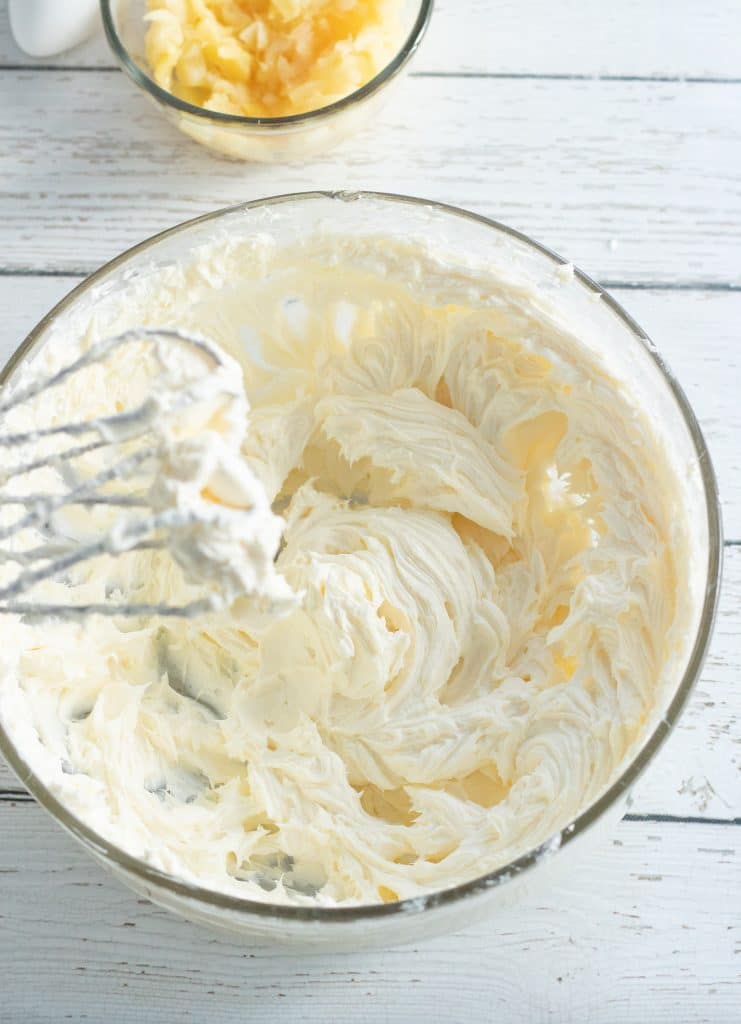
Grab a large bowl and combine your cream cheese with sugar, mixing until it gets fluffy. Add your cream and banana extract and mix together before adding one egg at a time.
Step 3: Add Fruit and Put in Crust
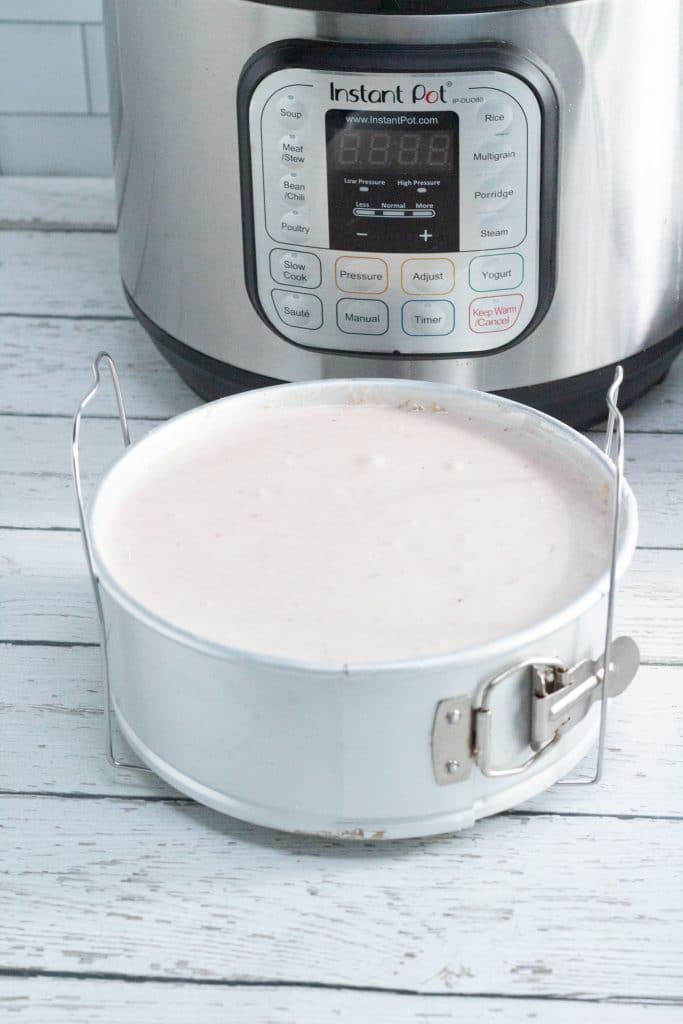
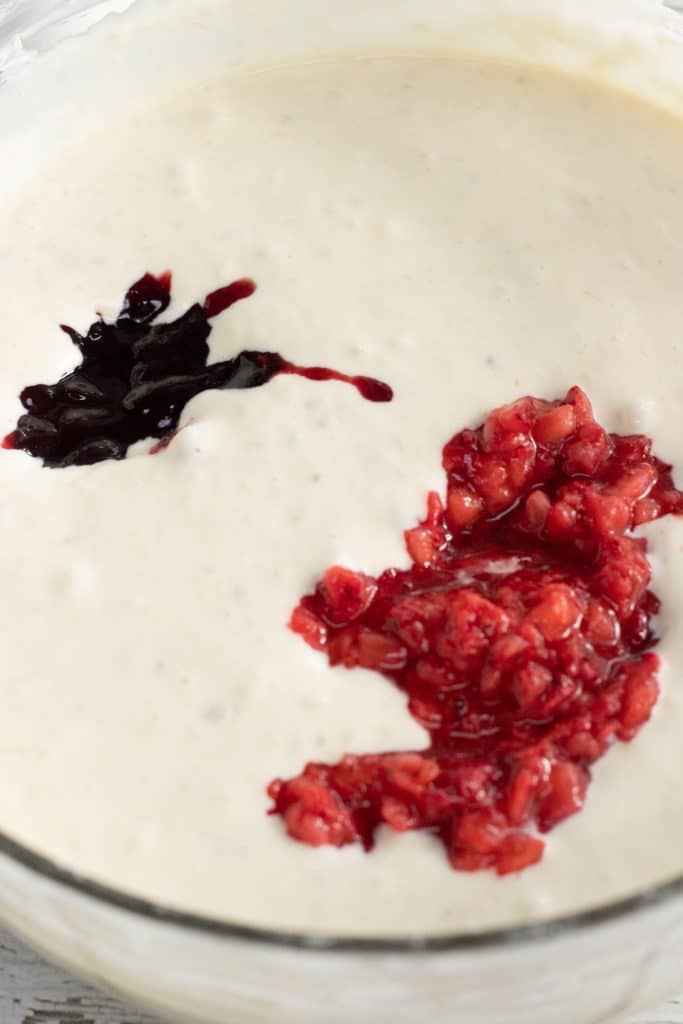
Keep the speed on low and mix in your pineapples, strawberries, bananas, and jam. Pour the mixture on top of the crust, cover the pan with foil, and then add 1 ½ cups of water to the bottom of the Instant Pot.
Step 4: Pressure Cook
Lower the cheesecake on the trivet into the bottom part of the pot before sealing the lid and cooking at high pressure for 50 minutes.
Step 5: Natural Release
Let it rest in the pot for 15 minutes before releasing pressure.
Step 6: Make the Chocolate Topping
Add cream to chocolate chips and heat in the microwave in 10-second increments, stirring between each until chocolate is melted. Allow to cool enough for the chocolate to be a drizzling consistency. You can now drizzle across the top of the cake with a fork or pipe with a small writing tip.
Step 7: Prepare Whipped Topping
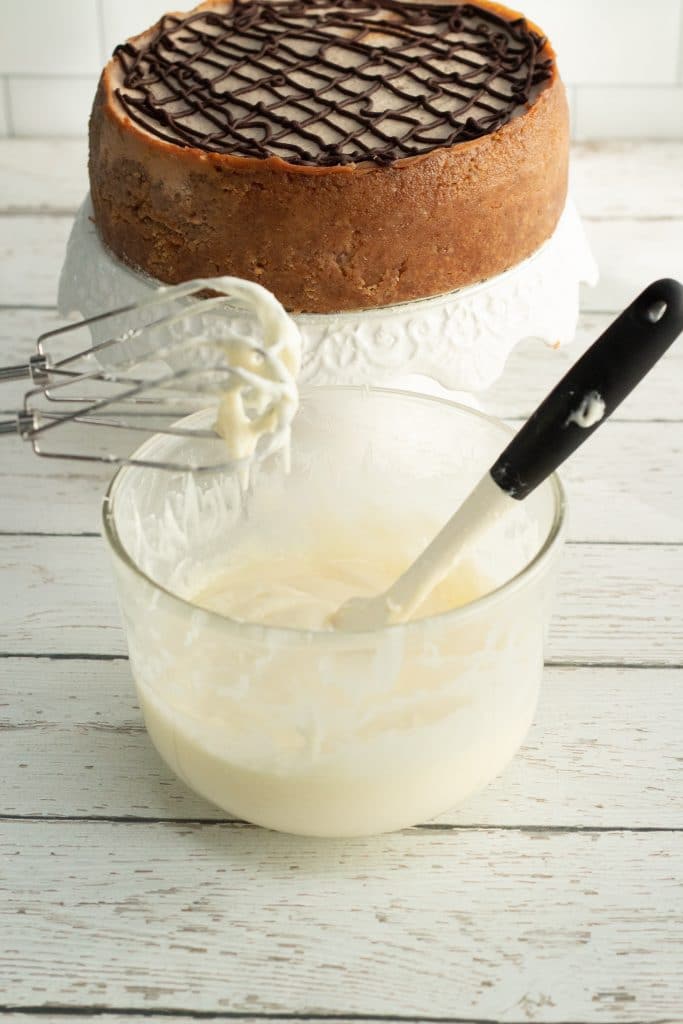
First, begin by whipping the cream until soft peaks form. In a separate bowl, beat the cream cheeses sugar, and extract until smooth. Then, fold in the whipped cream.
Step 8: Decorate the Cake
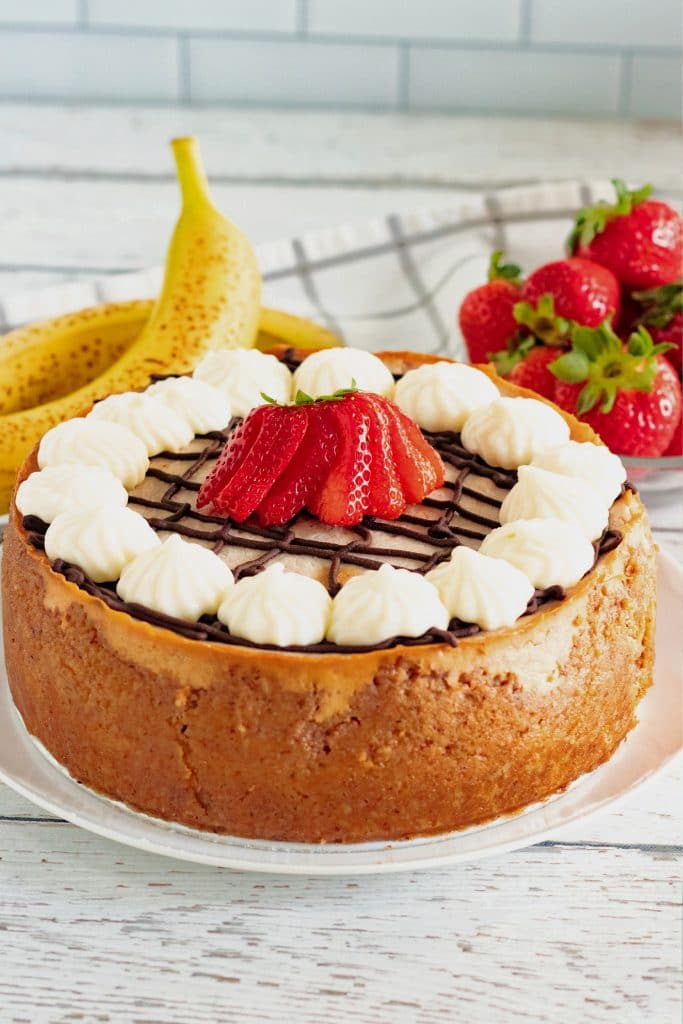
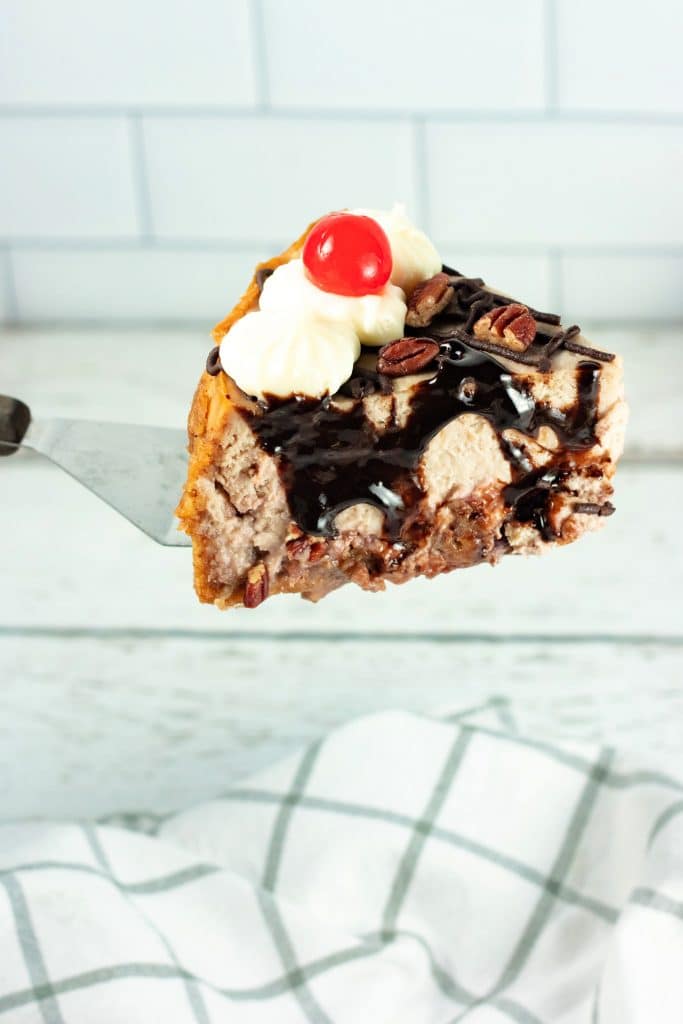
Finally, add poufs of the topping around the edge of the cheesecake using a large star tip or your tip of choice. You can decorate each piece with strawberry slices, chopped nuts, and marachino cherries if you desire.
Serve and Enjoy!
Do I Manually Release the Pressure?
No, you will let the pressure naturally release for about 15 minutes. After 15 minutes, you can then manually release if there is still pressure in the Instant Pot. If not, you will be able to open the lid.
What is The Crust Made Out Of?
The crust consists of crushed vanilla wafers combined with sugar, melted butter, and ground pecans and walnuts. It’s easy to prepare the crust with simple ingredients.
What Type of Pan Do I Need?
For both the crust and the cheesecake, you’re going to need an 8-inch springform pan to prepare the Instant Pot Banana Split Cheesecake. You will place the crust in first, and then pour the cheesecake filling over the top.
How Long Does It Cook in the Instant Pot?
When cooking in your Instant Pot, keep in mind that it will take about 15 to 20 minutes for the Instant Pot to come to pressure. Then, it will count down from the 50 minutes. So, this recipe will take 50 minutes cook time plus 15-20 minutes to build pressure. Make sure you cook your cheesecake for about 50 minutes on high pressure to ensure that it turns out perfectly.
Other Instant Pot Cheesecakes to Try
If you loved this Instant Pot Banana Split Cheesecake, you’ll enjoy these other easy cheesecake recipes:
- Instant Pot Berry Cheesecake
- Instant Pot Hot Chocolate Cheesecake
- New York Cheesecake in the Instant Pot
- Instant Pot Smores Cheesecake
Banana Split Cheesecake
Ingredients
- Crust
- 1½ c finely crushed vanilla wafers
- ½ c finely ground pecans or walnuts
- 3 tbsp brown sugar
- 4 oz butter (melted)
- Filling
- 24 oz cream cheese (room temperature)
- ¾ c granulated sugar
- 3 med/lg very ripe bananas (mashed)
- 1 c strawberries (chopped small)
- 1 c crushed pineapple
- ½ c strawberry jam or preserves
- 2 tbsp heavy cream
- 3 lg eggs (room temperature)
- 1 tsp banana extract
- Chocolate Topping
- ½ c dark chocolate chips
- ½ tbsp cream or milk
- Whipped Topping
- 1½ c heavy whipping cream
- 8 oz cream cheese (room temperature)
- 1 c granulated sugar
- ¼ tsp banana extract (can use vanilla if desired)
Instructions
Crust
- Cut a piece of parchment paper to fit the bottom of an 8-inch springform pan and place it in the pan.
- Spray paper and sides with a non-stick baking spray.
- Combine crushed vanilla wafers, chopped nuts and brown sugar. Add butter and mix with a fork until the consistency of wet sand.
- Press mixture into the bottom and up the sides of pan about ¾-inch.
- Place crust in the freezer while preparing the filling.
Cheesecake
- In a large mixing bowl, combine cream cheese and sugar on medium speed until fluffy.
- Add cream and extract and mix until combined.
Add eggs, one at a time, mixing just until combined after each addition. - At low speed, mix in strawberries, bananas, pineapple and jam.
- Pour filling into the prepared crust.
- Cover pan with foil and seal edges.
- Add 1½ cups of water to the bottom of your Instant Pot.
- Lower cheesecake on trivet into the bottom of pot.
- Seal lid and cook at high pressure for 50 min.
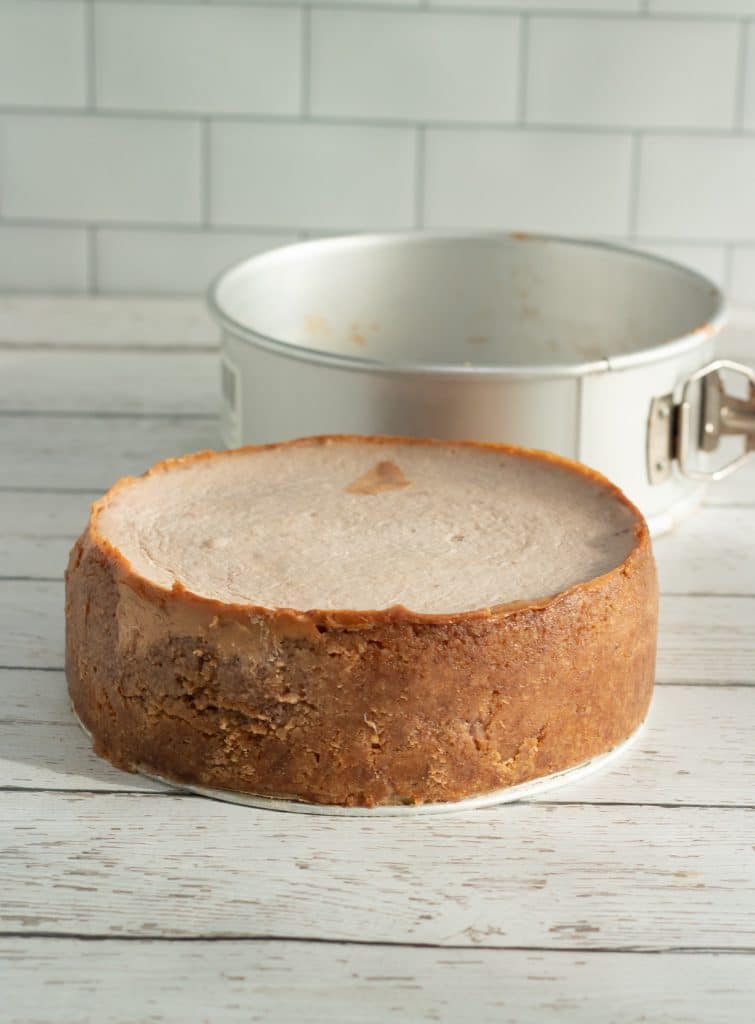
- Allow to rest in pot for 15 min., then release pressure and remove to a wire rack to cool.
- After cool, remove from pan.
Chocolate Topping
- Add cream to chocolate chips and heat in the microwave in 10-second increments, stirring between each until chocolate is melted.
- Allow to cool enough for the chocolate to be a drizzling consistency.
- You can now drizzle across the top of the cake with a fork or pipe with a small writing tip.
Whipped Topping
- Whip the cream until soft peaks form. Set aside.
In a separate bowl, beat cream cheese, sugar and extract until smooth. - Fold in whipped cream.
- Add poufs of topping around edge of cheesecake using a large star tip or tip of choice.
- You can decorate each piece with strawberry slices, chopped nuts and marachino cherries if desired.
- Serve and Enjoy
How to Store Leftovers
Put any leftovers in a large food storage container with an airtight lid to keep it fresh. Be sure to put your cheesecake in the fridge. You can store cheesecake in the fridge for about 2-5 days.
Can I freeze it?
You can freeze the cheesecake if you’d like to keep it fresh and save it for later. To store your cheesecake in the freezer, place it in the freezer until it is solid. Then, wrap it tightly in plastic wrap, and place it in an airtight container or freezer bag. Cheesecake can be stored for about 2 months in the freezer.
Other Easy Dessert Recipes to Try
- White Chocolate Mousse - February 16, 2024
- Slow Cooker Ground Beef Tacos - October 30, 2023
- Pumpkin Cream Iced Chai Latte - October 23, 2023






ashok says
Thanks For Sharing this amazing recipe. My family loved it. I will be sharing this recipe with my friends. Hope the will like it.
Kelley says
Yay! That’s so great to hear!