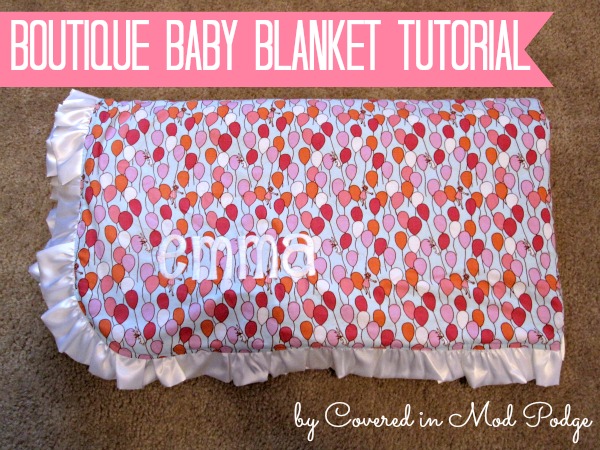
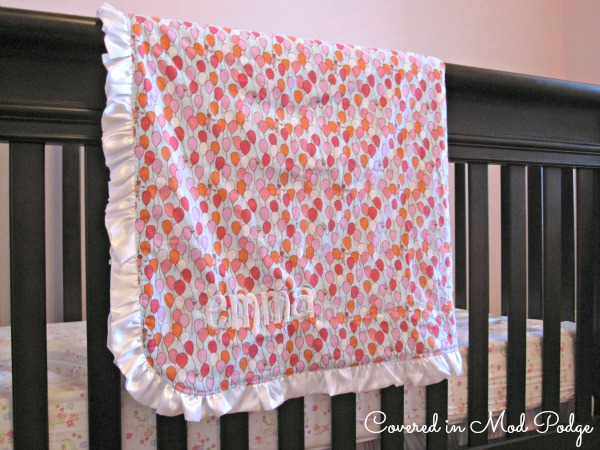
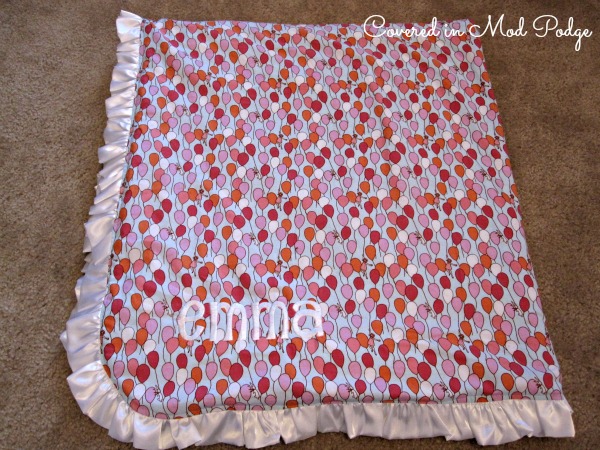
Hey there Grant Life friends. It’s Michaela again from Covered in Mod Podge. I’m thrilled to be sharing with you a tutorial for my finally finish {twenty some odd months late} Boutique Baby Blanket…complete with tutorial. While this baby blanket is sure late, I am over the moon with how it turned out!
This blanket defiantly has some scary elements to it. However, with some simple tips it becomes a manageable project. I’d call it a “confident beginner with lots of pins” level project.
Want to make your own? You’ll need:
* 1 1/4 yd quilting cotton {I used Sarah Jane’s Children at Play for Michael Miller Balloons in Aqua}
* 1 1/4 yd minky {From Joann’s
* 1 yd satin fabric {Mine was $2.99/ yd at Hobby Lobby}
* Matching thread for both front and back fabric
* Sewing machine, cutting supplies, iron, and TONS of pins
Start out by squaring up your quilting cotton. Here’s a tutorial if you need help with that step. Then, cut your minky down to the same size as your quilting cotton. Minky stretches and sheds. Basically, its a beast to work with. Go slow when cutting and be prepared to have to clean your cutting surface when all is said and done.
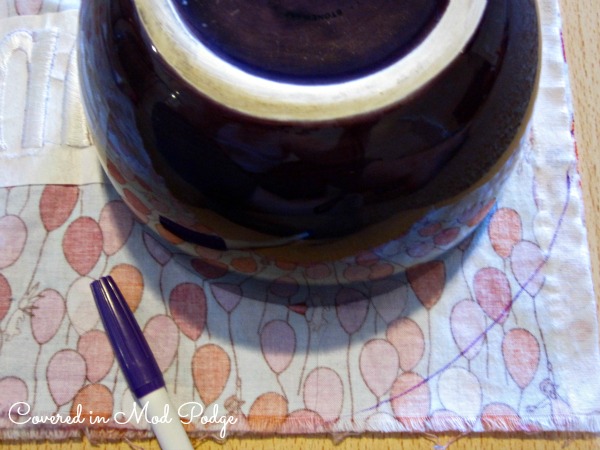
Use a bowl to round the corners of your fabrics.
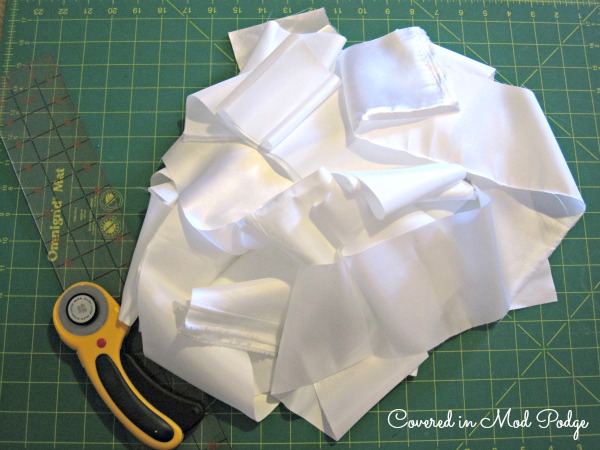
Now, its time to get busy making a whole ton of ruffles. I cut 7 strips of satin that were 4 inches by the width of the fabric {WOF}. This should work for you if your satin is 60 inches wide and you are making a 1 1/4 yd by WOF blanket.
If you’d like to do a different sized blanket, let me tell you why I cut 7 strips. I measured the perimeter of my blanket and multiplied that by 2 {because I wanted things to be very ruffly}. I then divided the doubled perimeter number by 60 and rounded up to the nearest whole number. That meant 7 strips. And we’re done with math…I promise.
Sew you satin strips together, end to end, until you have a massive length of stain. Iron your giant strip, wrong sides together, hot dog style.
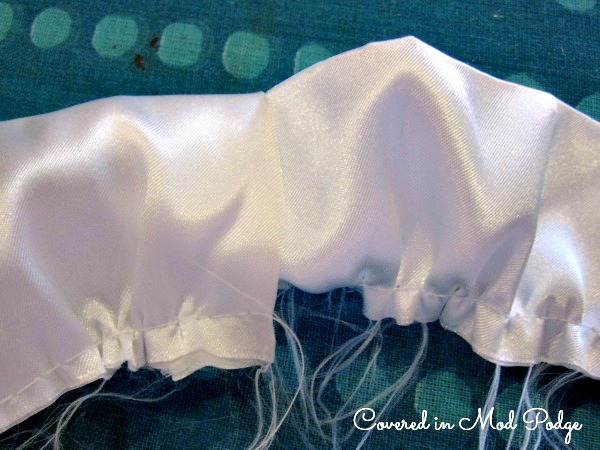
Get to ruffling. If you have a ruffle foot or a favorite method for ruffling, have at it. Otherwise, check out this tip. It will make your day. Sew your choice of ruffling stitch as close to the edge of your fabric as you can. But, make sure you’re catching both layers of fabric!
Now its time to really start working with minky. I have called minky some pretty terrible names in my sewing days. I do everything I can not to work with it. However, Pinterest has been my best friend for learning to make my peace with this awful, comfy fabric. The answer? Tons and tons of pins and sewing super, duper slow! Also, you want to sew with the minky on the bottom to take advantage of the feed dogs.
Lay your minky right side up on a large, clean work surface. Smooth the living daylights out of your minky. Then, lay your quilting cotton on top, right side down. Smooth everything out.
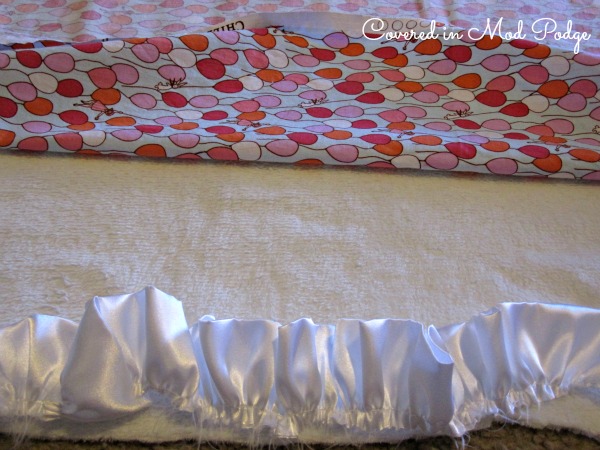
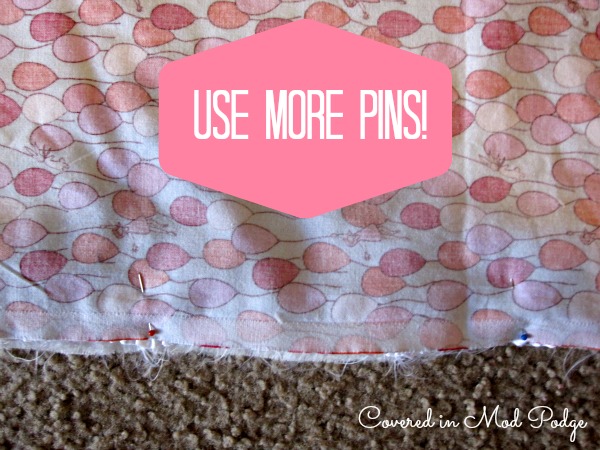
I worked in small sections at a time to add in the ruffle and pin. Fold up a bit of your quilting cotton and lay your ruffle on top of your minky. The seam of the satin should be lined up with the edge of your fabrics. Now pin like you’ve never pinned before.
You should be pinning every inch. Seriously. I hate pinning. But this is sooo important to not want to curse out fabric as you sew.
Keep working all the way around your fabric. When you get back to your start, cut the satin down to two inches of overlap. Then, fold the raw seams in on both sides of the satin strip. Carefully stuff one side of the satin into the other and finish pinning.
At this point, you should have pinned all the way around the fabric. I’m guessing you’re a bit upset that I’ve forgot to tell you to leave a gap to turn. The need for pinning with minky is so stinking intense that I recommend pinning all the way around your blanket. Then, when you sew {with a presser foot seam allowance}, be careful to stop 6 inches from where you started sewing. And back stitch. Sew very, very slow. This will reduce the stretching and other weird things that minky will do.
Go ahead and unpin the gap and turn your blanket. Make sure your curves are all the way rounded. Press the blanket well, minky side down. Make sure you tuck in the minky and fabric at the gap in. Also, make sure the ruffle is well tucked in. Now, pin that gap like crazy.
Use a thread that blends in well with your top for your spool and a thread that blends in well with your minky in your bobbin. Top stitch as close to the edge of the blanket as you can. Again, go very slower. The minky will still try to stretch and shift.
That’s it! You have a boutique styled baby blanket for much less than the boutique price.
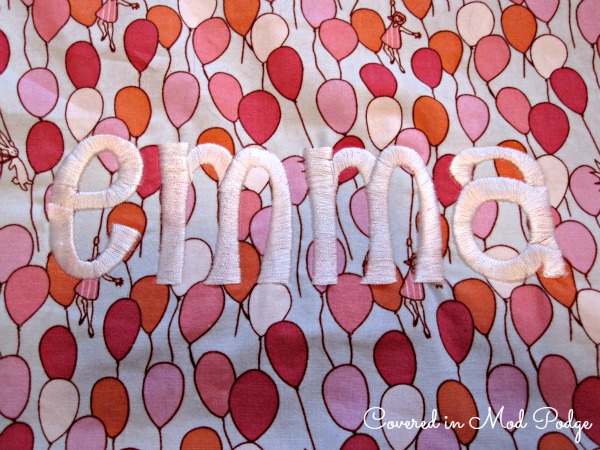
Want to add a personal touch? Have an embroiderer add your little love bug’s name to the top layer of your blanket after you’ve squared, cut, and rounded all your fabric but before you start sewing. I just love that little detail!
Both my husband and I still have our hand made baby blankets in our linen closets. My husband’s is really gross and mine is missing all of the beautiful hand embroidery it once had. Regardless, these blankets hold special meaning for both of us. I hope many years from now my daughter will still feel safe and loved just knowing that this blanket is somewhere in the back of her linen closet.
Like it? PIN IT!
- Halloween Puppy Chow - September 30, 2013
- Easy Homemade Craft: Abby Cadabby Style Wand - September 16, 2013
- Blogging Tips: Pinterest Tip for iPhone Users - September 5, 2013






Crystal says
So sweet! It looks so pretty and soft!!
Kelley says
Thanks! It is gorgeous! Michaela did a great job!
Michaela says
Thanks! It is wonderfully soft. My husband may or may not try to steal it from my kiddo!
angela king says
this is so stinkin’ cute! thanks for the tut.
Kelley says
Isnt it cute?! Michaela did a great job!
Michaela says
Thanks so much! I hope you make one. They are a much easier project then they look!
Peach fur fleece says
superb blog! it is very interesting and useful post.thanks for sharing this amazing boutique-baby-blanket-tutorial.