Cakes are great, but these Starbucks Birthday Cake Pops are even better. What I love about them is that there’s limit mess to clean up and you don’t have to have a bunch of dirty dishes for someone to eat cake. My kids are big fans so of the tiny treats so of course I had to figure out how to make them at home! Check out my Starbucks copycat cake pops recipe today!
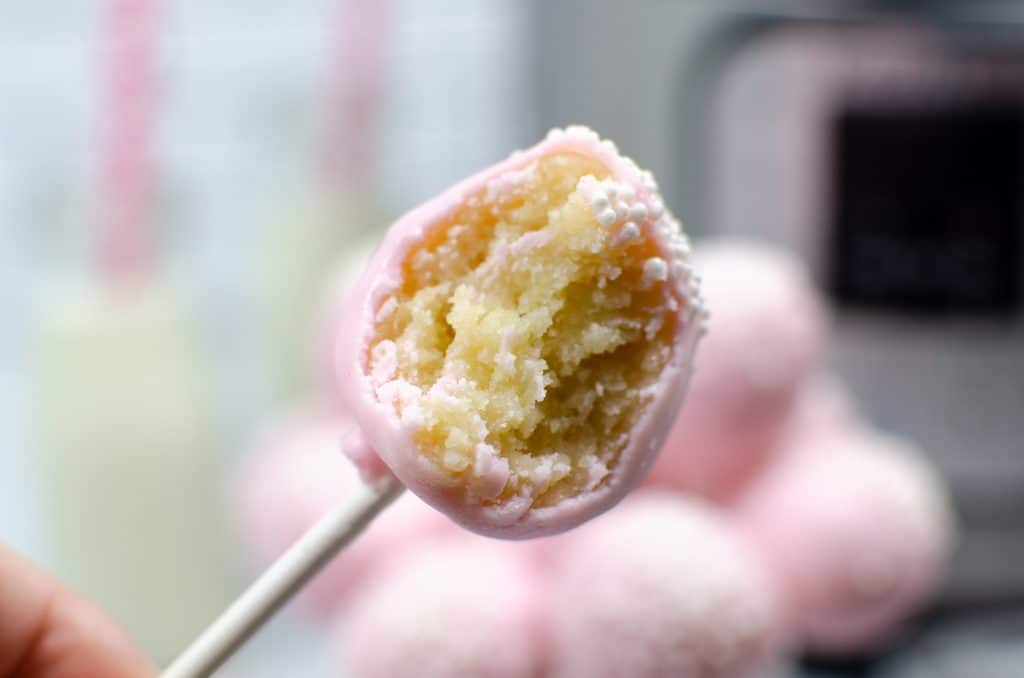
I have to admit that I have created tiny cake pop loving monsters. My kids love going to Starbucks as much as their mama because they know it’s cake pop time. They love these mini treats on a stick so much that I had to make a copycat version at home.
What are Starbucks Birthday Cake Pops?
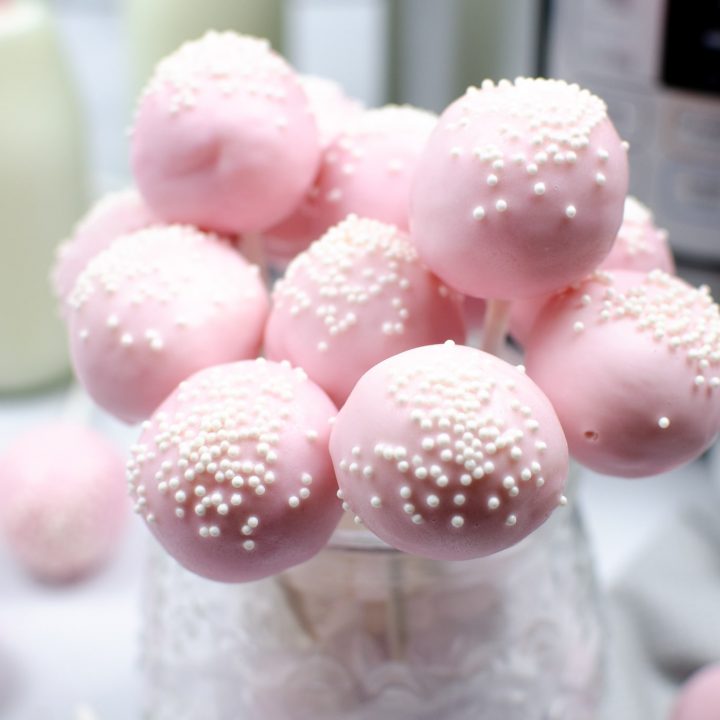
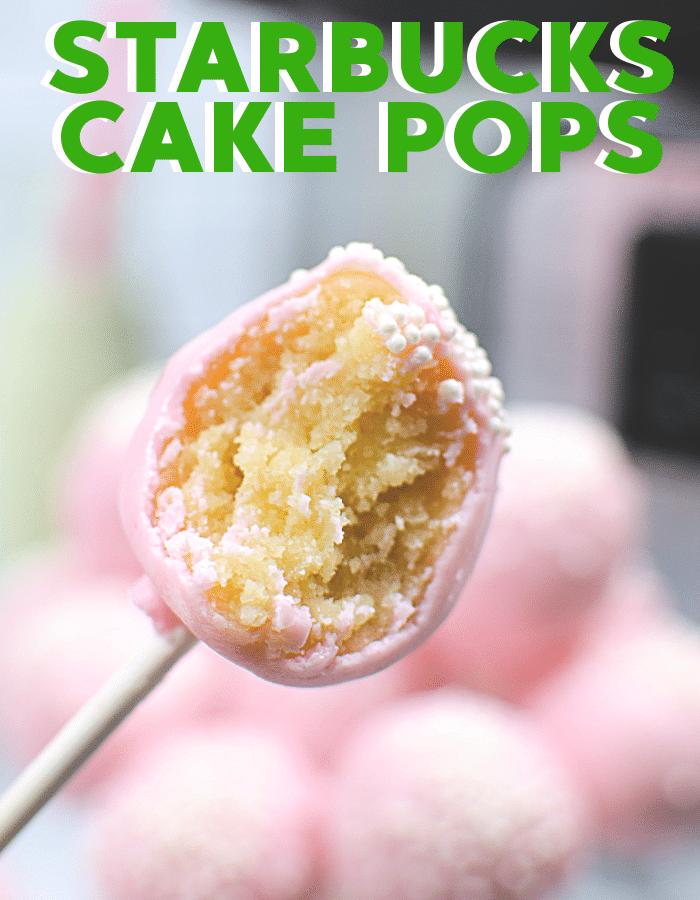
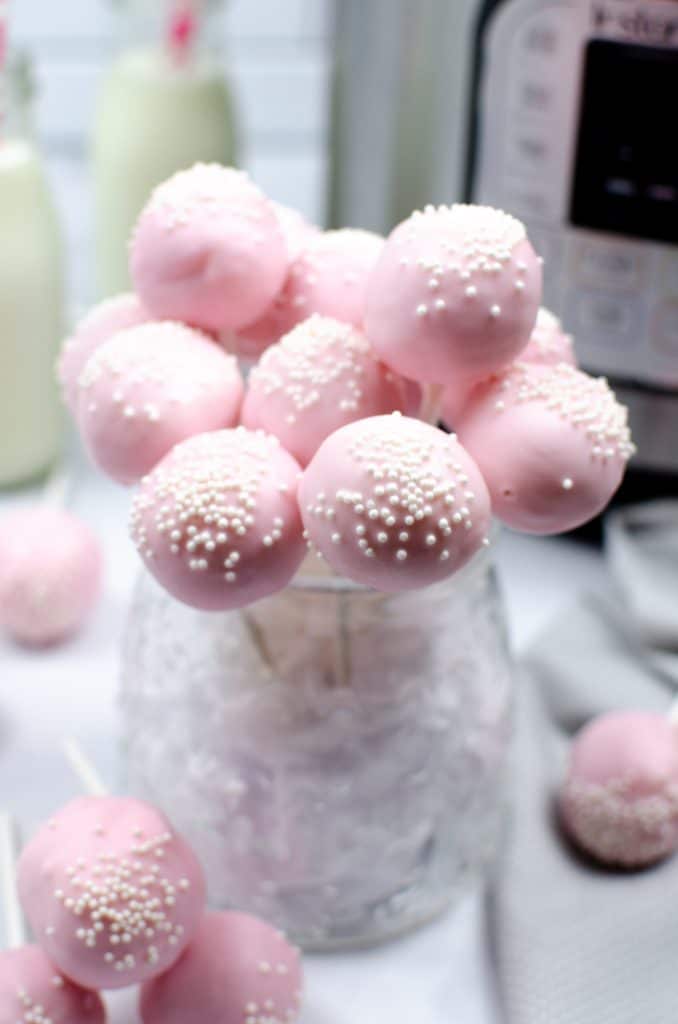
If you have been to Starbucks, you probably saw their famous pink birthday cake pops through their glass goodie case. These treats are a combination of vanilla cake, frosting, and pink candy coating all on a sucker stick.
What are the Other Flavors of Cake Pops at Starbucks
Starbucks doesn’t just make their birthday cake pops. In fact, you can get Starbucks cake pops in a variety of different flavors. Here’s what they have:
- Seasonal Cake Pop.
- Birthday Cake Pop.
- Chocolate Cake Pop.
- Chocolate Chip Cookie Dough Cake Pop.
- Brownie Cake Pop.
If you are wanting to make any of these cake pops, follow the same instructions below, just switch up your flavors!
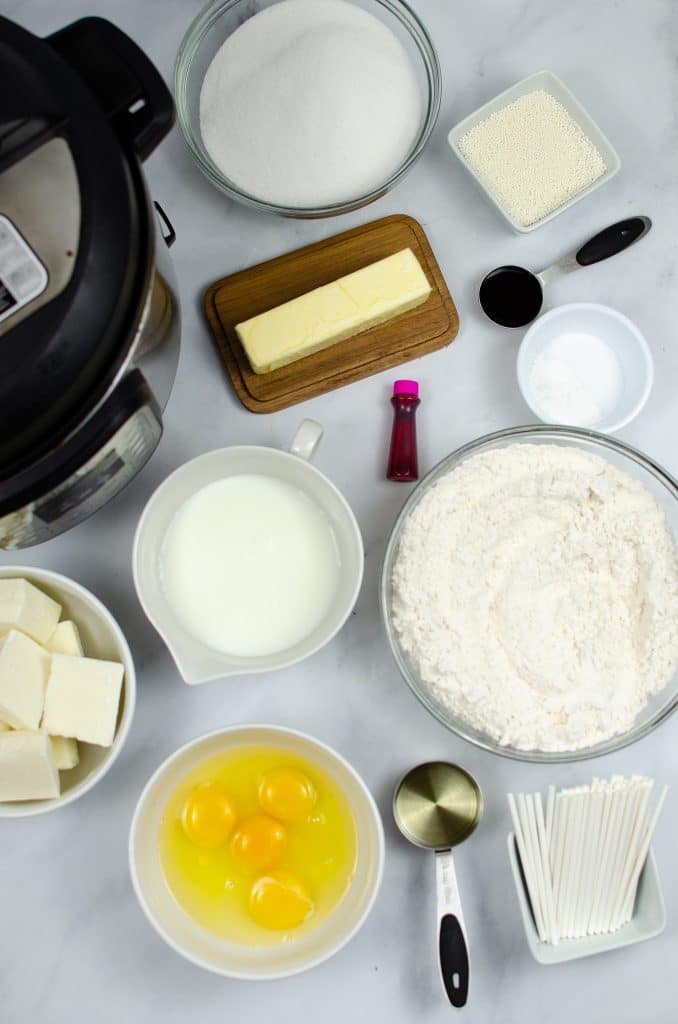
Starbucks Birthday Cake Pops Ingredients
For this recipe, you will need ingredients for the cake as well as for the frosting. Here’s what you need:
Cake:
- 1 cup butter, room temperature
- 2 cups granulated sugar
- 1/2 cup vegetable oil
- 4 eggs
- 2 tablespoons vanilla extract
- 2 teaspoons baking powder
- 1 teaspoon kosher salt
- 3 cups flour
- 1 cup milk
Outer chocolate coating:
- 6 blocks of Almond Bark (12 oz)
- 1 tablespoon vegetable oil
- 1/2 container cream cheese frosting
- 1 drop pink gel food coloring
- 70 Treat sticks
- 1 package white round sprinkles
Click the links above to purchase the ingredients via my Amazon affiliate link.
How to Make Starbucks Birthday Cake Pops at Home
When making these Starbucks cake pops, you will need to begin by first making the cake and then the frosting. Follow the steps below!
Step 1 Make the Cake Batter
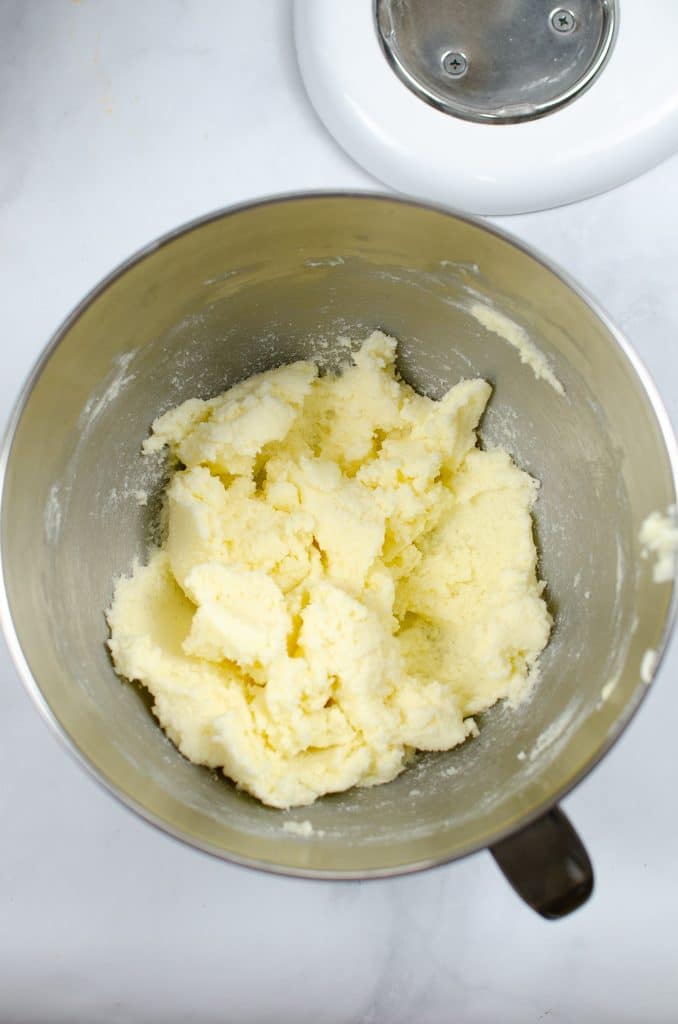
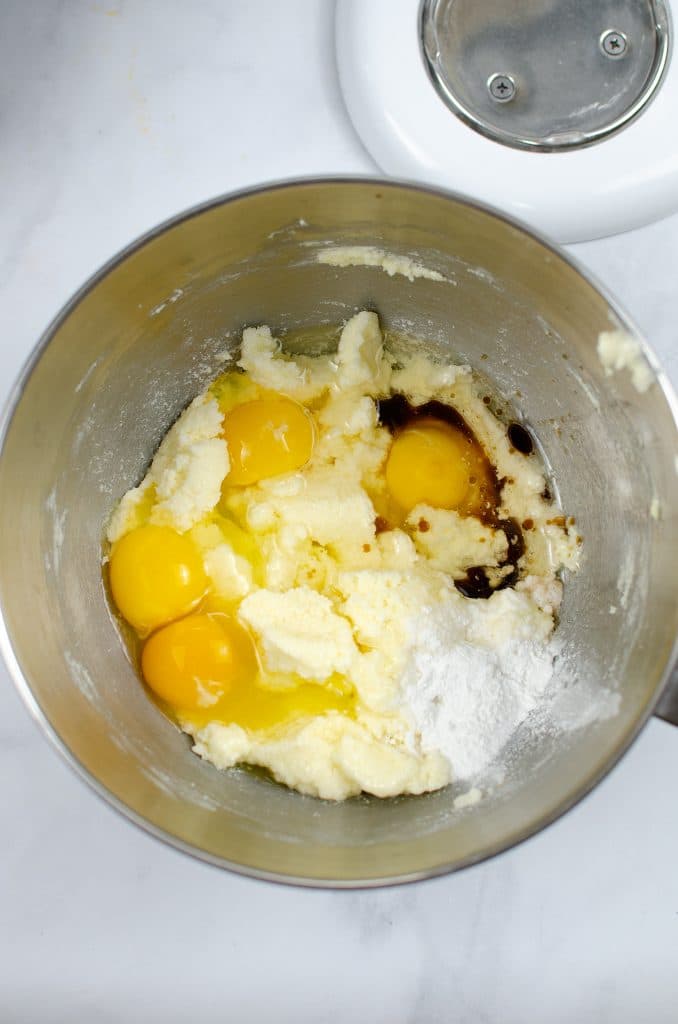
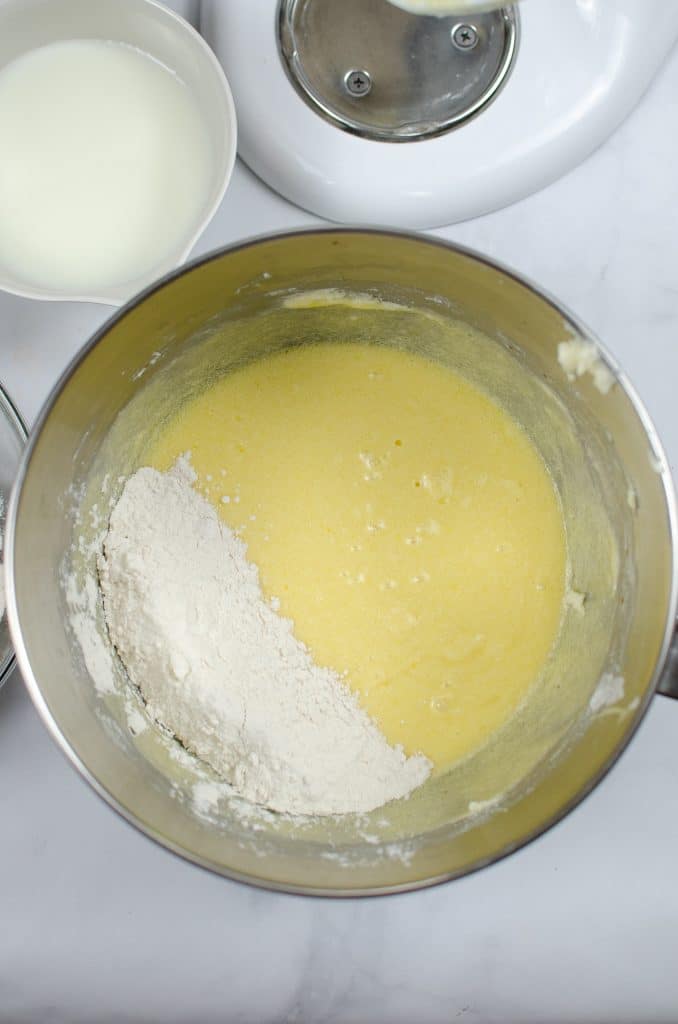
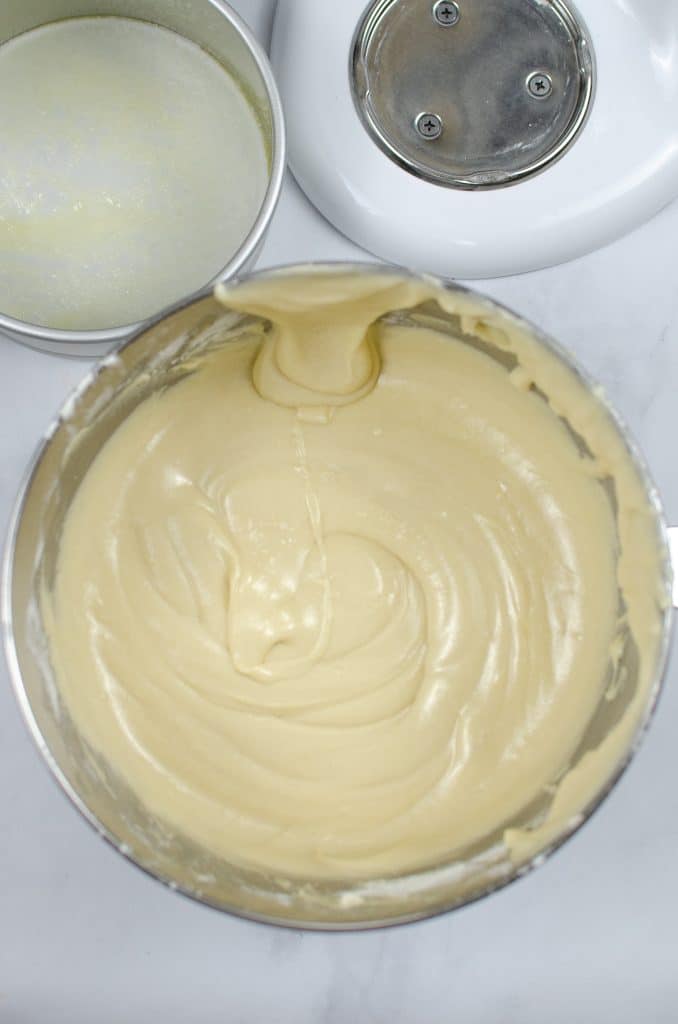
In a large bowl, beat together your sugar and butter. Mix until incorporated. Next add in your oil, eggs, vanilla, baking powder, and salt. Mix until incorporated. While alternating, in your flour and milk a little bit each time. Mix until incorporated.
Step 2 Prepare Spring Form Cake Pan
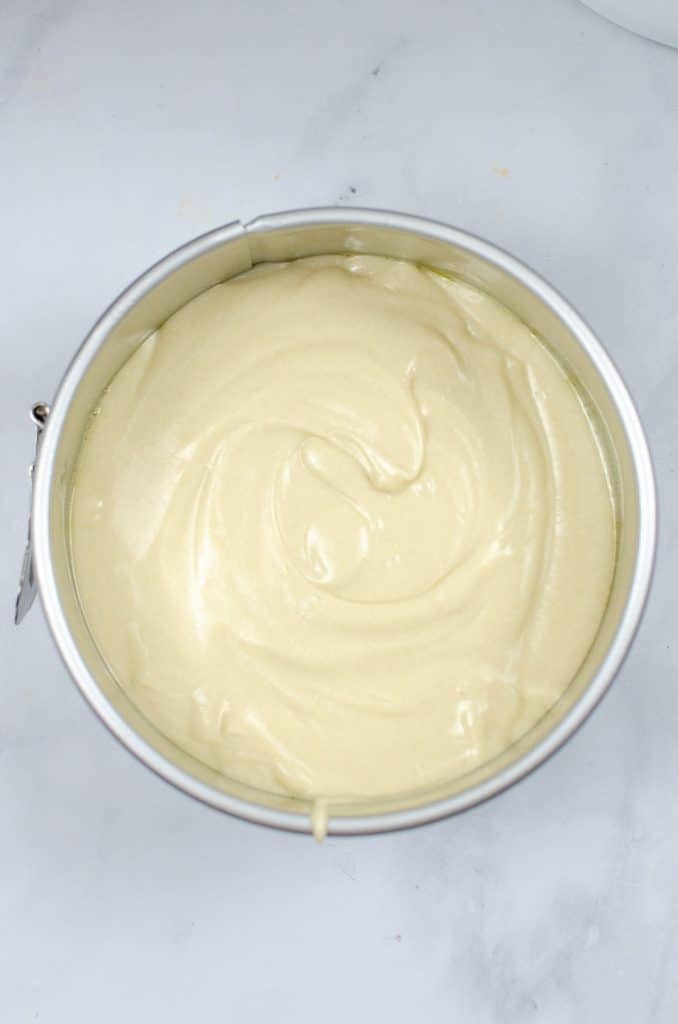
Prepare your instant pot spring form cake pan by placing Parchment paper on the flat plate. Put the spring form pan on top of it and close shop. Remove any remaining parchment that is sticking out using scissors or ripping it off. Spray with cooking spray, or grease with butter.
Step 3 Put Batter in Spring Form Cake Pan
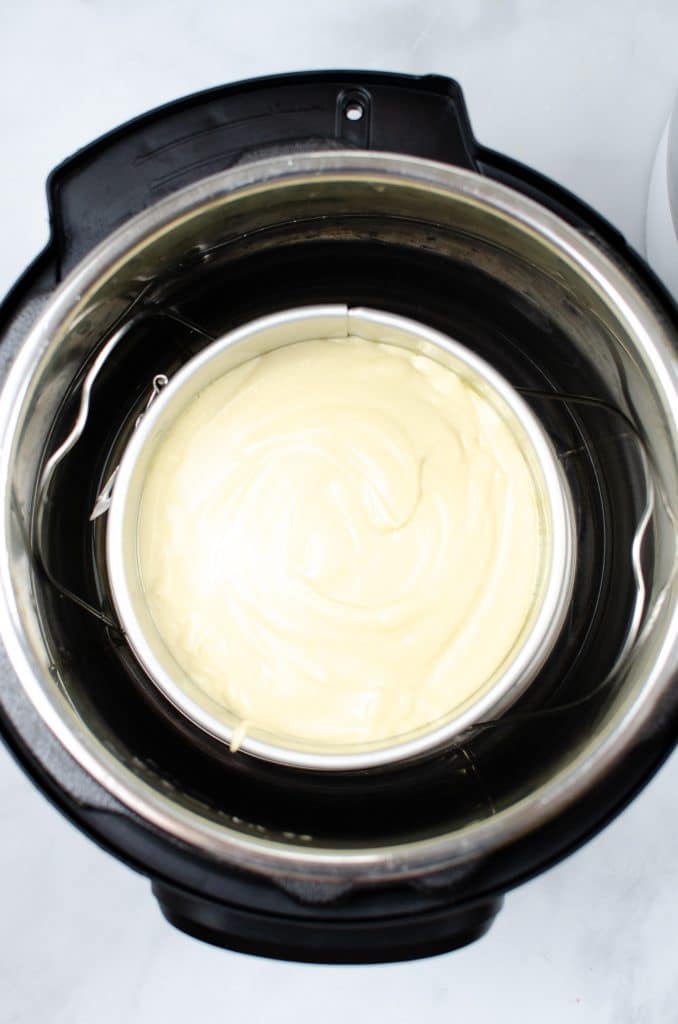
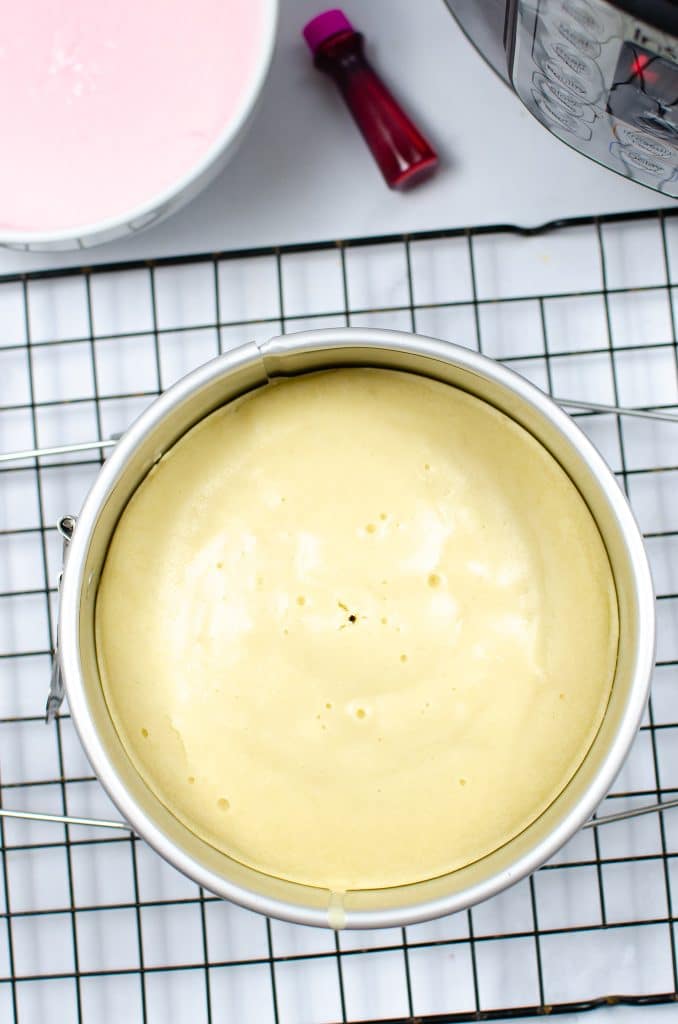
Fill your pan 3/4 of the way with the batter. Fill your instant pot with 2 cups of water. Placed the trivet inside and place your cake on top of the trivet.
Step 4 Pressure Cook
Close the lid on your instant pot and make sure that the ceiling valve is closed and facing away from you. Set your instant pot to 45 minutes.
Step 5 Quick Release
Once your instant pot has finished cooking, do a manual released by pulling the ceiling valve towards you to remove any pressure.
Step 6 Let Cake Cool
With a towel or hot pads, pull the trivet out of the instant pot using the two handles. Transfer to cooling sheet and allow the cake to completely cool.
Step 7 Make Frosting
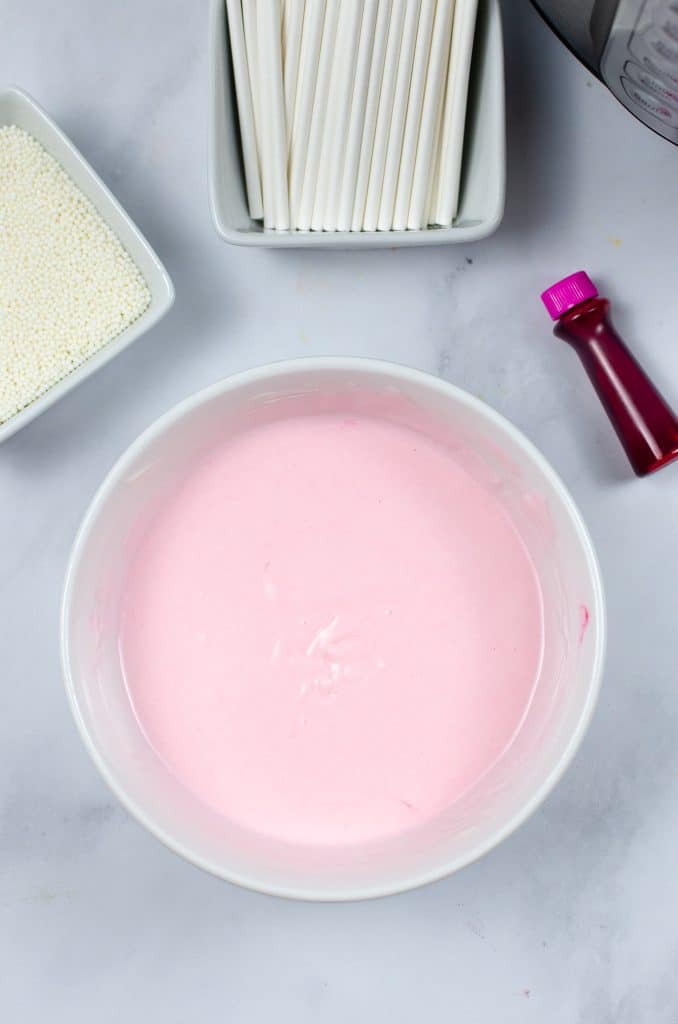
While your cake is cooling, add in a small bowl together your Almond bark and 1 tablespoon of oil. Microwave for 30 second intervals, stirring each time. Make sure that your chocolate is completely melted. Add one small drop of pink food coloring to your chocolate mixture. Stir well.
Step 8 Make Cake Balls
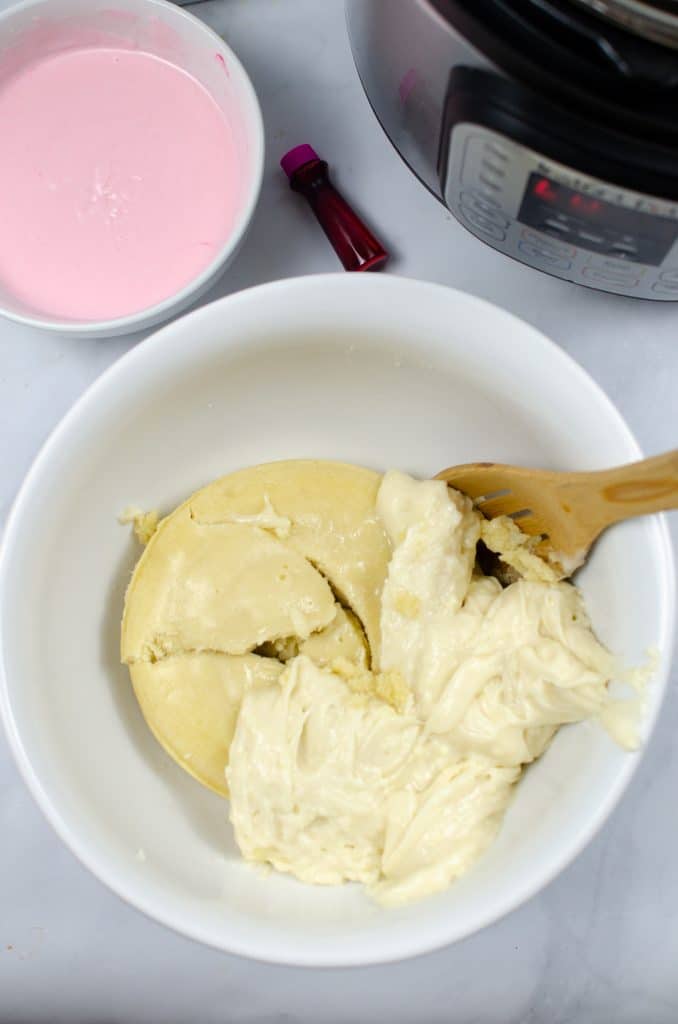
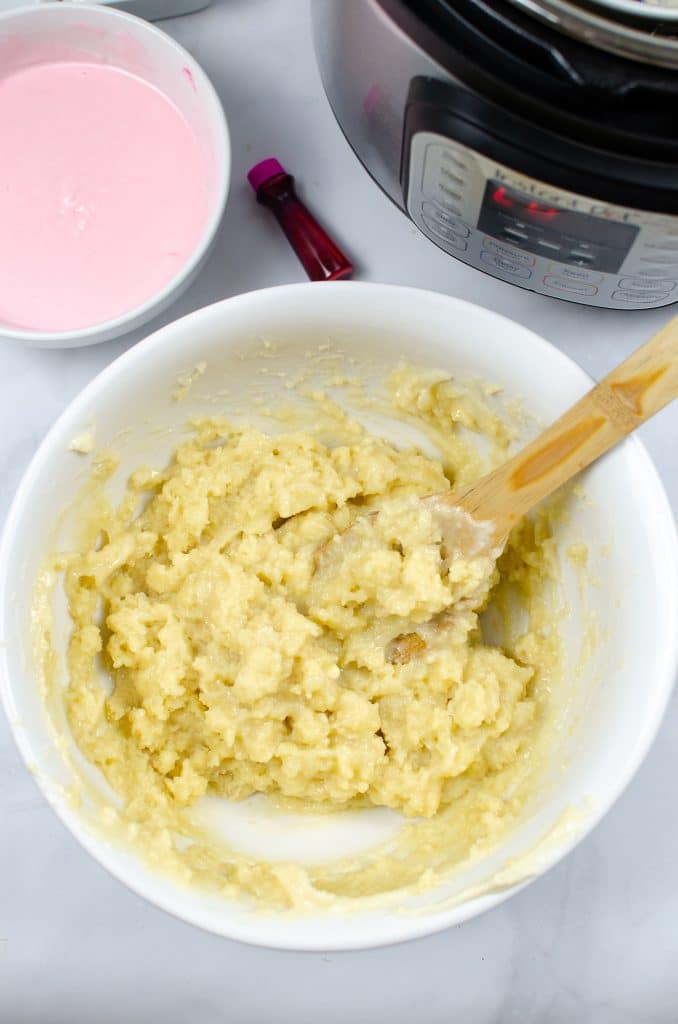
Add your cake to a large bowl as well as your frosting. Mix well. Using a cookie scoop, or eyeballing the size ball that you want, using the palm of your hand, form a round ball. Line each one of your cake balls on a cookie sheet.
Step 9 Freeze Cake Balls
Once done, transfer your cake balls to the freezer for about 15 minutes until slightly hard and cool.
Step 10 Add more Chocolate
After the 15 minutes, remove your cake balls. Taking a treat steak, dip it slightly in your chocolate. This will help it stay in the cake pot. Dip your cake pop in the chocolate and cover it completely. Give it a few seconds to drip off any excess chocolate into the bowl.
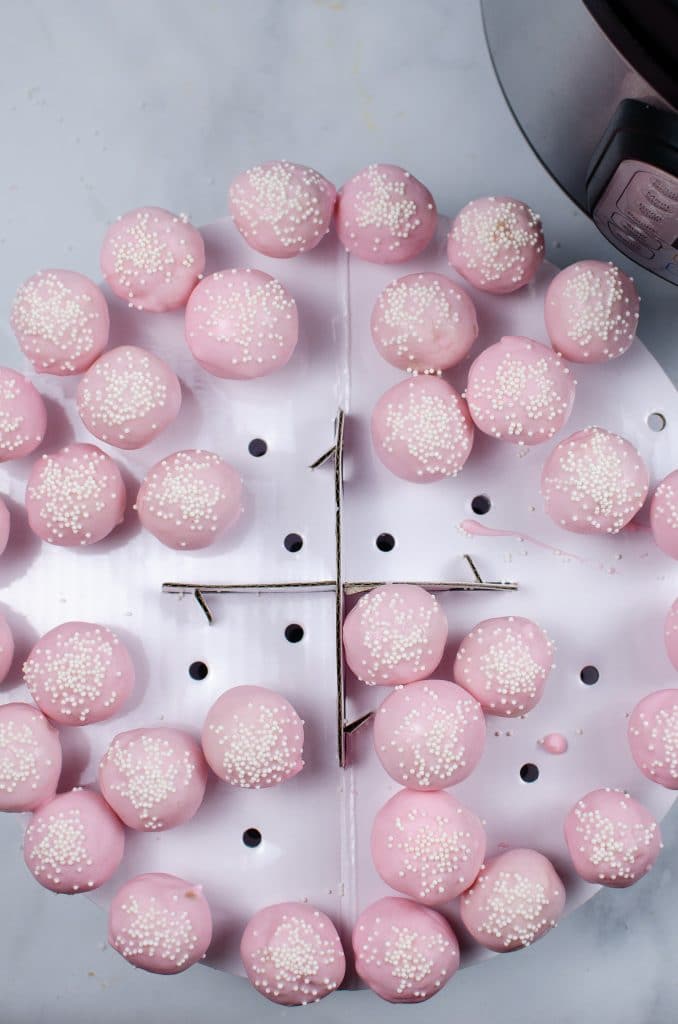
Step 11 Display
I used a cake pop decorating stand, but you can use even a block of Styrofoam to place the stick in to stand on its own while the chocolate dries and solidifies. Immediately add your sprinkles before the chocolate dries.
Continue and repeat until you have made all your cake pops!
How to Store Leftover Starbucks Birthday Cake Pops
If you want to store your cake pops until that special day, you can actually store them at room temperature. Cover and leave them on the counter for up to a week.
If you want to store them for a week or up to a month, you can place them in an airtight container in the refrigerator.
Can You Freeze Them
Yes, you can store your cake pops in the freezer. In fact, they will last 1 to 3 months if stored properly in the freezer. Place them in a large zip lock freezer bag for best results. Let them defrost at room temperature.
Other Starbucks Recipes to Try
Do you love Starbucks as much as I do? I love Starbucks, but I don’t always have the money to spend on it. So, instead I just make my own Starbucks copycat recipes! Here are a few of my favorites:
- Starbucks Pumpkin Scones
- Starbucks Pumpkin Bread
- Instant Pot Egg Bites Starbucks Copycat
- Starbucks Chocolate Chunk Cookies
- Copycat Starbucks lemon Loaf
- Starbucks Cranberry Bliss Bars
Starbucks birthday cake pops
Ingredients
- Cake:
- · 1 cup butter, room temperature
- · 2 cups granulated sugar
- · 1/2 cup vegetable oil
- · 4 eggs
- · 2 tablespoons vanilla extract
- · 2 teaspoons baking powder
- · 1 teaspoon kosher salt
- · 3 cups flour
- · 1 cup milk (I used 1%, but you can use any.)
- Outer chocolate coating:
- · 6 blocks of Almond Bark (12 oz)
- · 1 tablespoon vegetable oil
- · 1/2 container cream cheese frosting
- · 1 drop pink gel food coloring
- · 70 Treat sticks · 1 package white round sprinkle
Instructions
1. In a large bowl, beat together your sugar and butter. Mix until incorporated.
2. Next add in your oil, eggs, vanilla, baking powder, and salt. Mix until incorporated.
3. While alternating, in your flour and milk a little bit each time. Mix until incorporated.
4. Prepare your instant pot spring form cake pan by placing Parchment paper on the flat plate. Put the springform pan on top of it and close shop. Remove any remaining parchment that is sticking out using scissors or ripping it off. Spray with cooking spray, or grease with butter.
5. Fill your pan 3/4 of the way with the batter.
6. Fill your instant pot with 2 cups of water. Placed the trivet inside and place your cake on top of the trivet.
7. Close the lid on your instant pot and make sure that the ceiling valve
is closed and facing away from you. Set your instant pot to 45 minutes.
8. Once your instant pot has finished cooking, do a manual released by pulling the ceiling valve towards you to remove any pressure.
9. With a towel or hot pads, pull the trivet out of the instant pot using the two handles. Transfer to cooling sheet and allow the cake to completely cool.
10. While your cake is cooling, add in a small bowl together your Almond bark and 1 tablespoon of oil. Microwave for 30 second intervals, stirring each time. Make sure that your chocolate is completely melted.
11. Add one small drop of pink food coloring to your chocolate mixture. Stir well.
12. Add your cake to a large bowl as well as your frosting. Mix well.
13. Using a cookie scoop, or eyeballing the size ball that you want, using the palm of your hand, form a round ball. Line each one of your cake balls on a cookie sheet.
14. Once done, transfer your cake balls to the freezer for about 15 minutes too hard and slightly and cool.
15. After the 15 minutes, remove your cake balls. Taking a treat steak, dip it slightly in your chocolate. This will help it stay in the cake pot.
16. Dip your cake pop in the chocolate and cover it completely. Give it a few seconds to drip off any excess chocolate into the bowl.
17. I used a cake pop decorating stand, but you can use even a block of Styrofoam to place the stick in to stand on its own while the chocolate dries and solidifies. Immediately add your sprinkles before the chocolate dries.
18. Continue and repeat until you have made all your cake pops! Enjoy
Nutrition Information:
Yield: 24 Serving Size: 1Amount Per Serving: Calories: 260Total Fat: 14gSaturated Fat: 6gTrans Fat: 0gUnsaturated Fat: 8gCholesterol: 52mgSodium: 210mgCarbohydrates: 30gFiber: 0gSugar: 17gProtein: 3g
Did you enjoy this recipe? If so, share this post on Pinterest for others to enjoy! Remember, sharing is caring.
- Homemade Salisbury Steak - November 23, 2025
- Easy Hot Cocoa Dip - November 13, 2025
- Peppermint mocha syrup - November 12, 2025


A.Rrajani Photographer says
SUCH A AMAZING RECIPE!
THANK YOU FOR SHARING…..
Amy says
This is a great idea of my daughter’s BD party. 😀
Kelley says
Yay! I hope she enjoys!
Angie says
Hi there
I have a question for step twelve. You say…
12. Add your cake to a large bowl as well as your frosting. Mix well.
I’m just wanting to find out what frosting you’re referring to in this step?
I just want to make them right. Thank you so much
Kelley says
You need 1/2 can of cream cheese frosting for these.
sarah says
what brand of cream cheese frosting did you use, and what size?