Stenciled Toddler Hoodie Tutorial
Hey Grant Life readers. It’s Michaela again from Covered in Mod Podge. Today I want to share with you a simple way to dress up a boring old hoodie. This stamping method is a quick, super easy nap time project. If you have older kiddos, they could even help out!
I love the look of toddlers in dresses styled with leggings, cardigans, and adorable headbands. However, I haven’t found this to be terribly practical. My little miss thinks that things on her head are pure evil. She is also always on the move. So, its much more likely that my little miss is running around in leggings, a t-shirt, and a hoodie.
But, there’s no reason that hoodie can’t be absolutely adorable. On a recent trip to Target I snagged a plain grey hoodie on clearance. While it fit the bill for what we needed, it was just so blah. So I decided to jazz it up using only paint and a pencil.
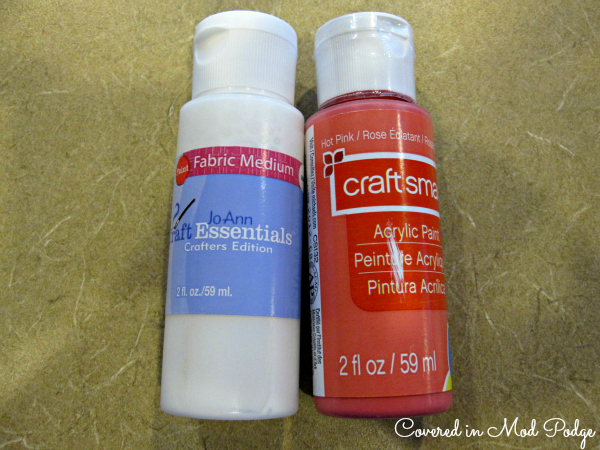
You read that right. All you need is fabric paint or regular old acrylic and a fabric medium {I got mine at Joann’s} and a pencil with a brand spanking new eraser. Ok, you also need an iron, a work space, and some wax paper/cardboard, too.
Start out by putting down wax paper or craft paper to protect your work space. Then, mix your paint up according to the bottle’s directions.
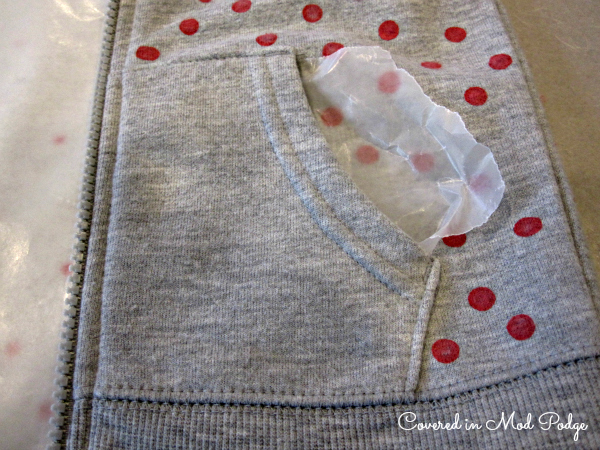
Make sure that you either have wax paper or cardboard between the fabric anywhere it overlaps. You don’t want your paint seeping through! I used waxed paper because it was easier to manipulate and shove into the random corners of places like the pockets.
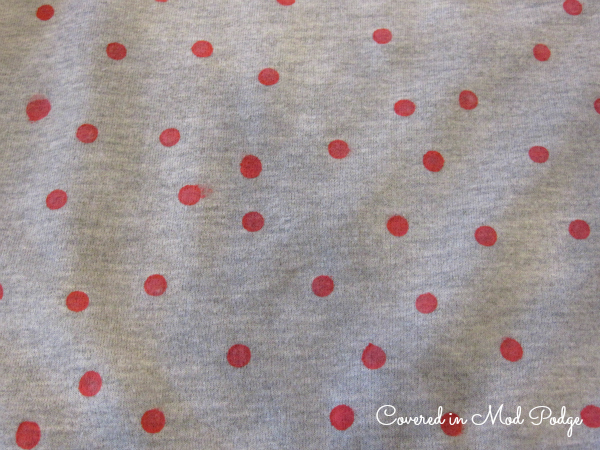
Now, go to town with your dots.
A couple of tips. Make sure you don’t have too much paint on your eraser. It will bleed everywhere and make a funky shaped dot. Press down firmly when making your dot. You can always add a bit more paint and go over the dot a second time if you need to. This doesn’t have to be perfect. There’s a lot of character in the less than perfect dots!
I used a blow dryer on low heat to help the drying process along. This let me finish doing all the dots in one sitting.
After you finish up, you’ll want to heat set your paint. This makes it so they won’t fade in the wash. Follow the directions on your bottle. For me, I had to wait 24 hours before ironing the hoodie. The bottle also says to wash inside out.
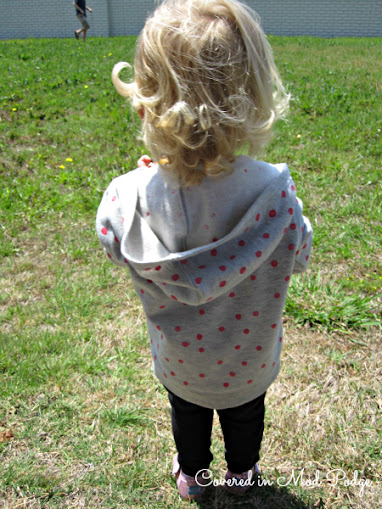
Given that this hoodie is for my dirt loving little miss, it’s already been through the wash three times. The paint still looks good as new. I’m sure it will fade a bit with the excessive washing that a toddler demands. I think that adds character and will give the hoodie a nice vintage vibe.
This quick and easy technique can be used on a variety of items. You can also get super creative and carve different shapes into the eraser.
What’s you favorite toddler look?
Latest posts by Michaela (see all)
- Halloween Puppy Chow - September 30, 2013
- Easy Homemade Craft: Abby Cadabby Style Wand - September 16, 2013
- Blogging Tips: Pinterest Tip for iPhone Users - September 5, 2013





Brandy says
This is such a great idea! I will have to try this for my kiddos!! Thanks for sharing!
Kelley says
Thanks for the sweet comment! Let us know if you try this 🙂
Jillian @ Hi! It's Jilly says
What an awesome craft! And I have some hoodies that would be perfect to dress up! My kids are 8, so they could probably do the dots themselves. 🙂
Kelley says
Thats such a great idea! Send me pictures if you do it 🙂
Karen Schulz says
visiting from show and tell friday. I love this. The dots just liven it right up
Kelley says
Thanks so much Karen! I think so too 🙂
Heidi says
Now I’m really sad I passed up those solid hoodies on clearance at Target!!! I was thinking my kids really don’t need anymore but when a project is this cute they “need” it! 🙂 I love it!! Thanks for the great idea!
Kelley says
Haha! Just be on the lookout for more! Great excuse to shop 😉